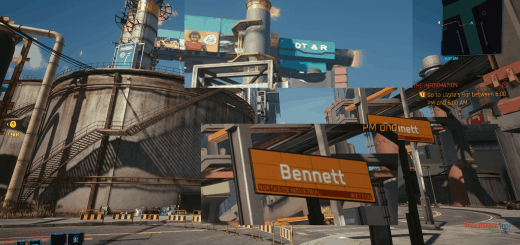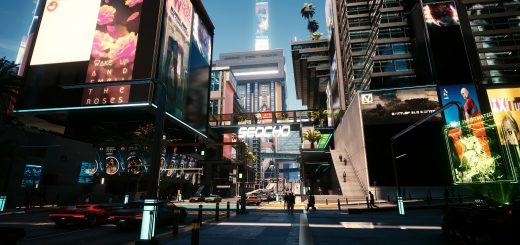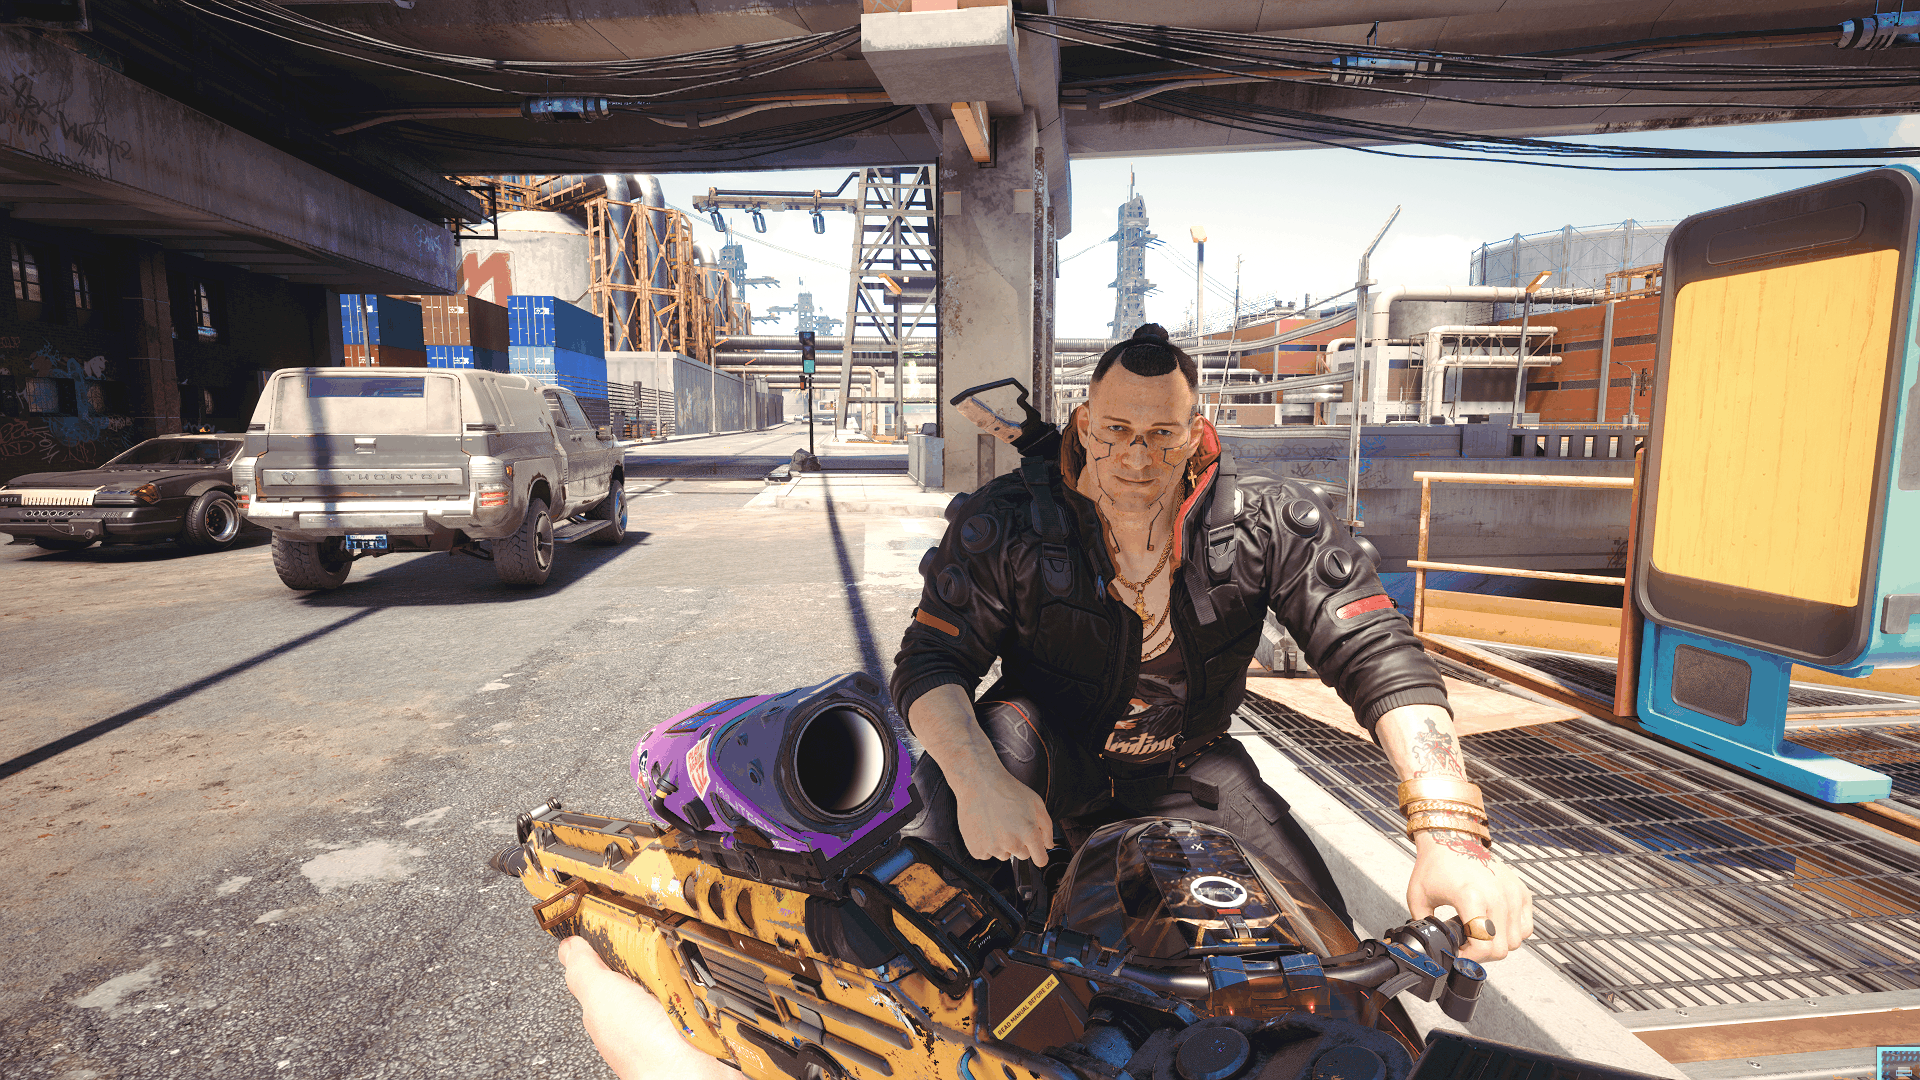
Reshade – Bright Realism Preset
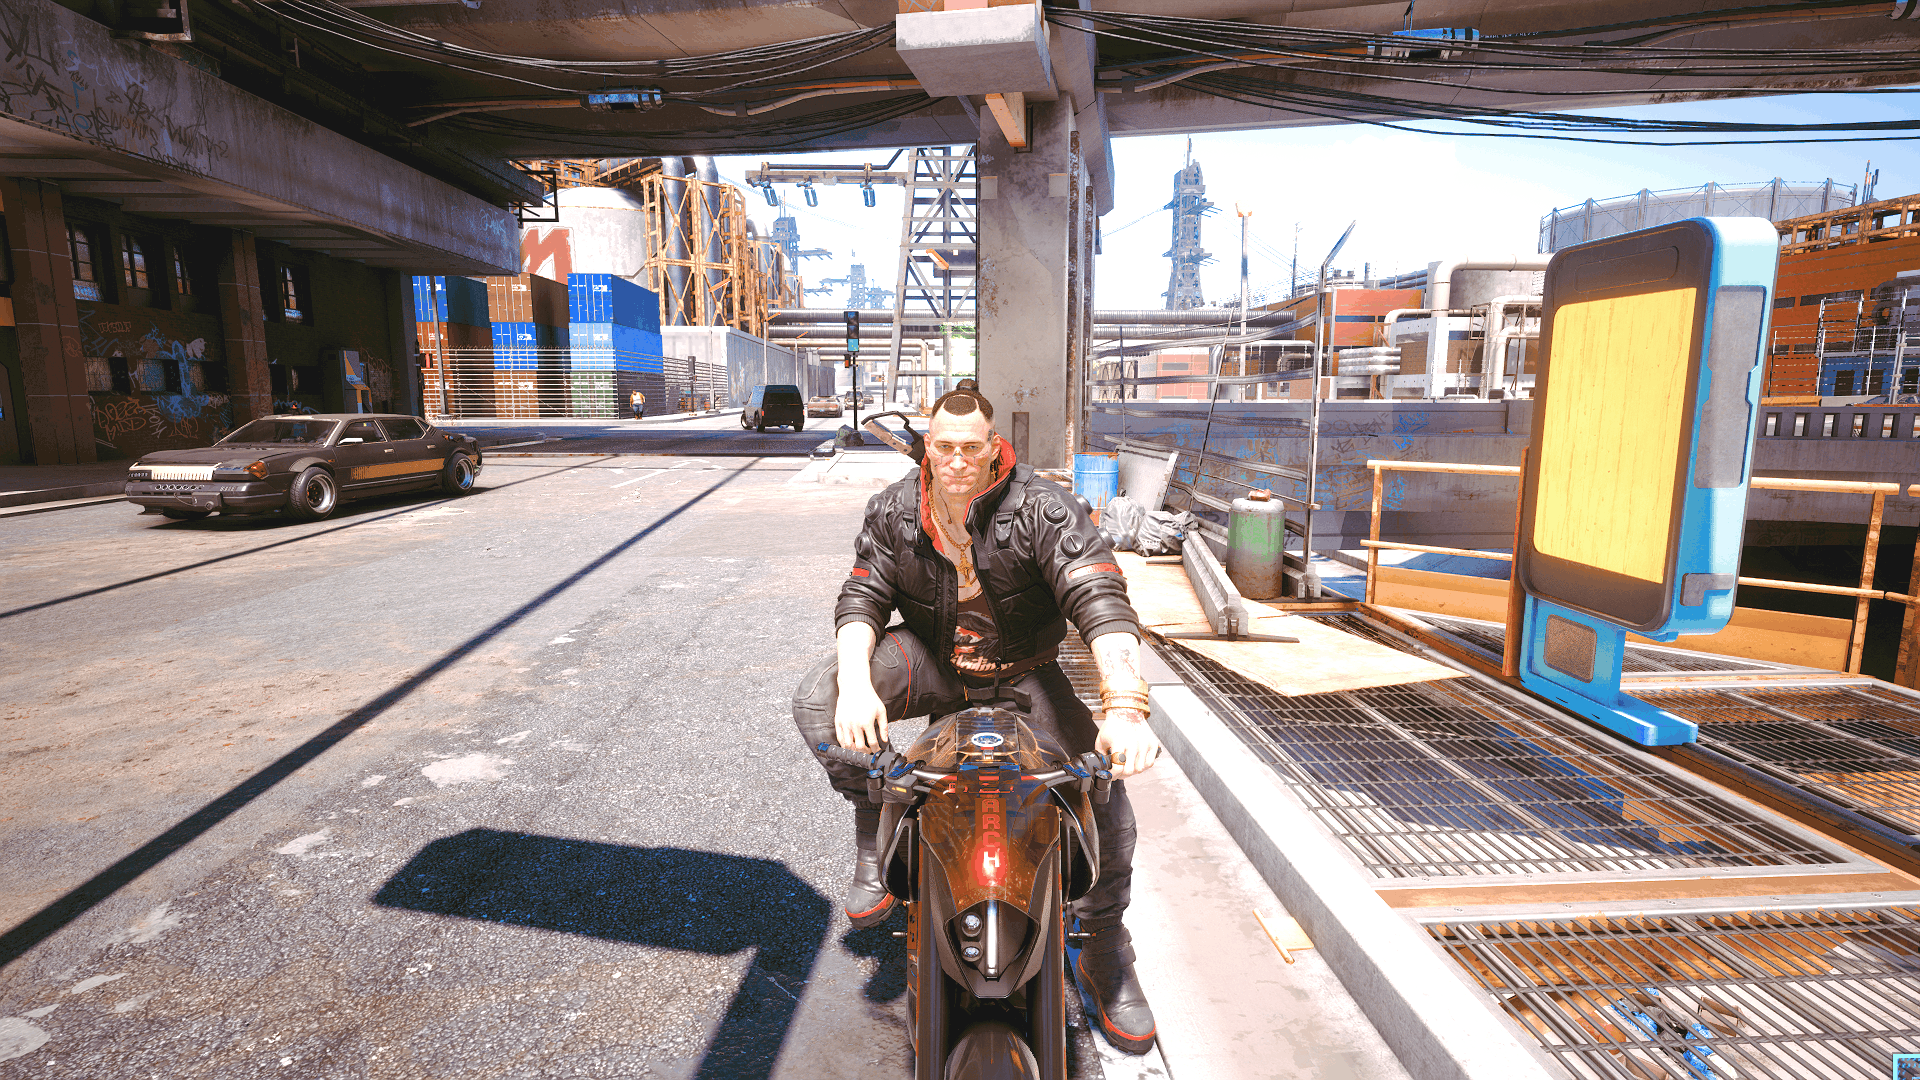
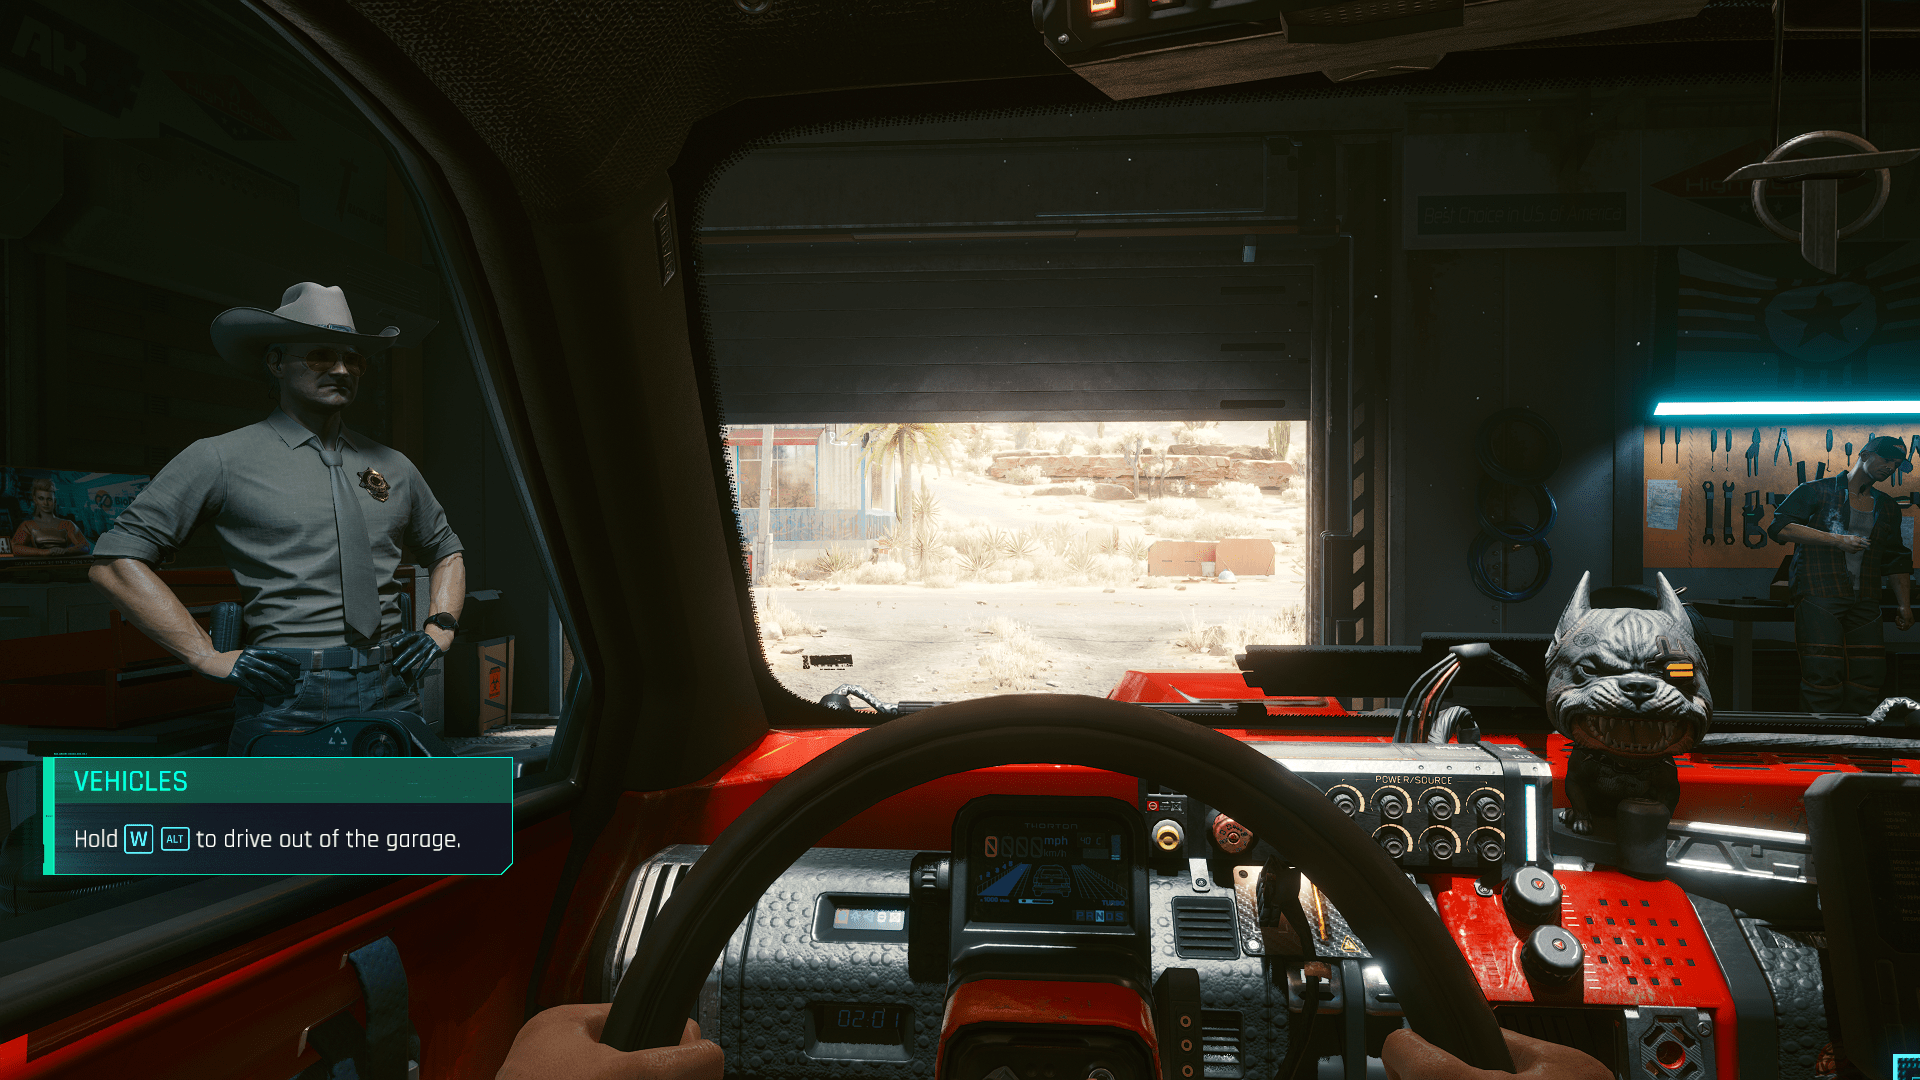
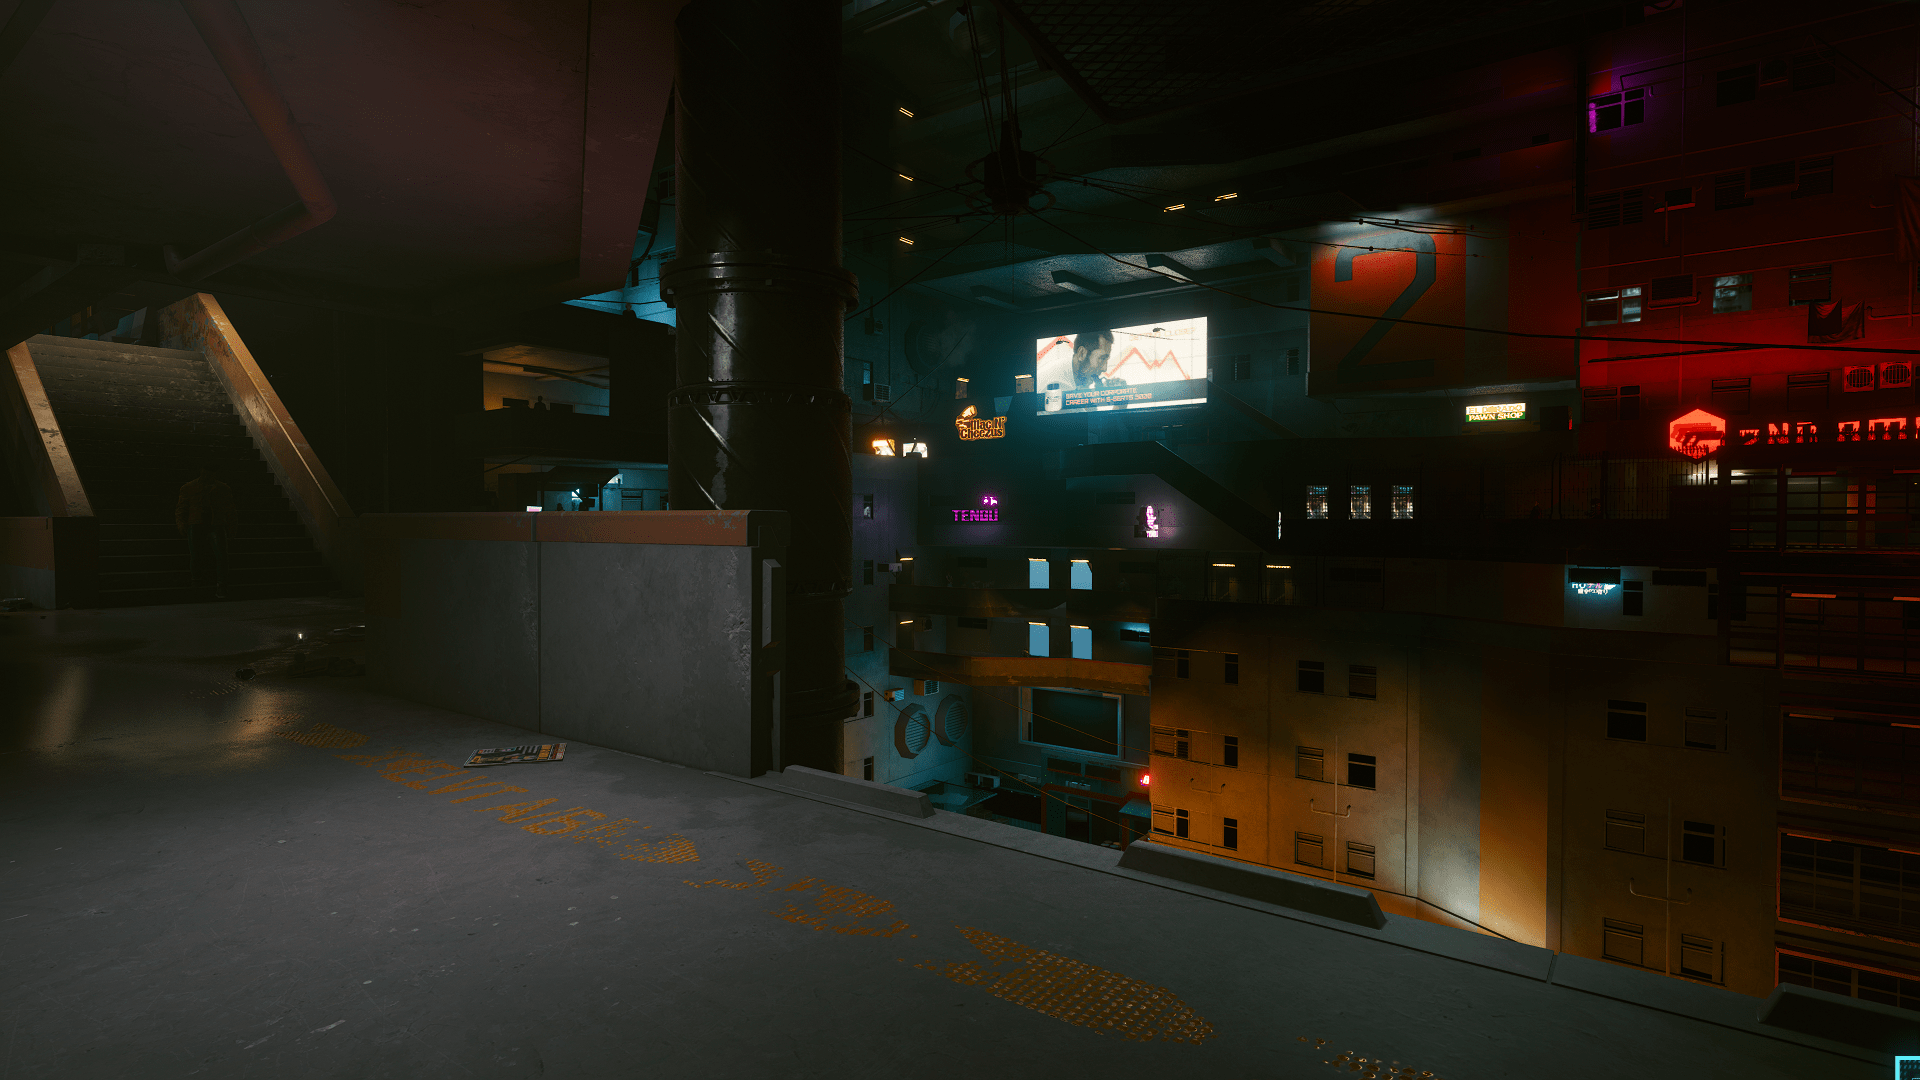
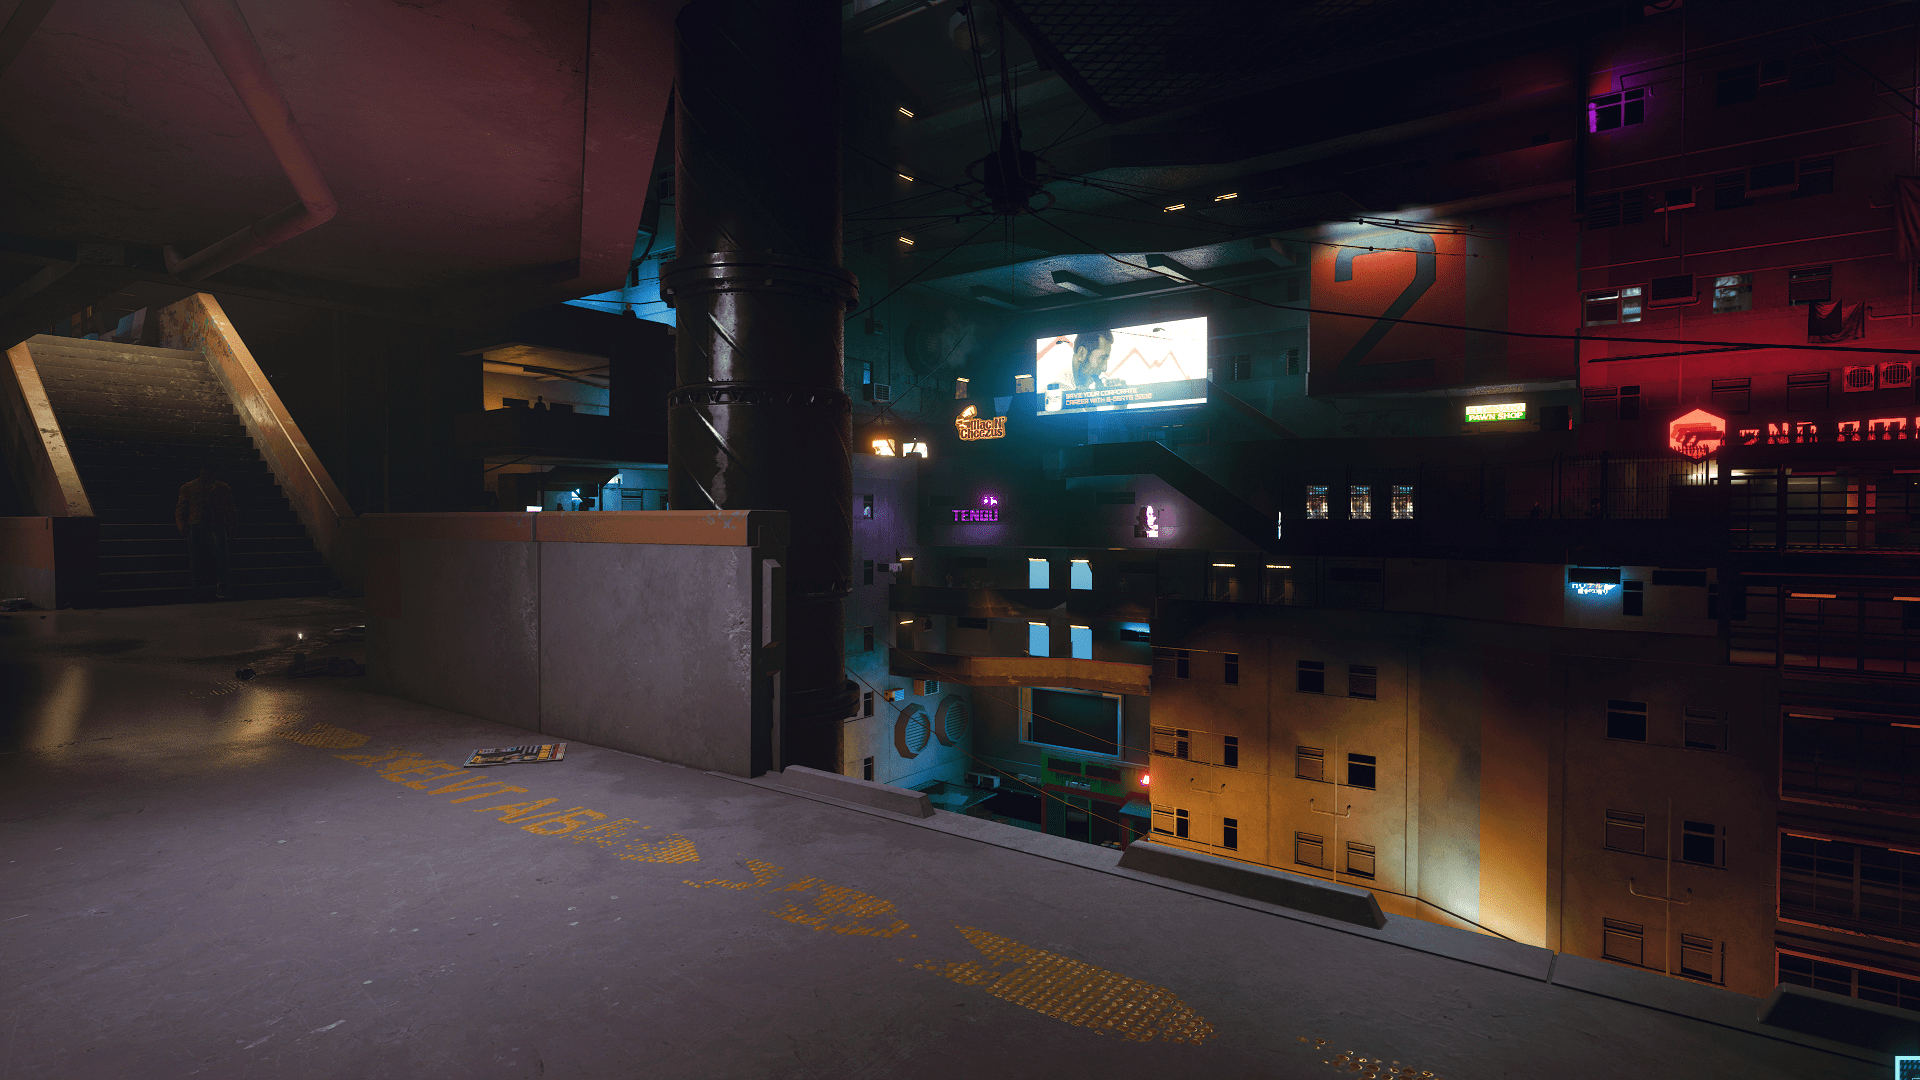
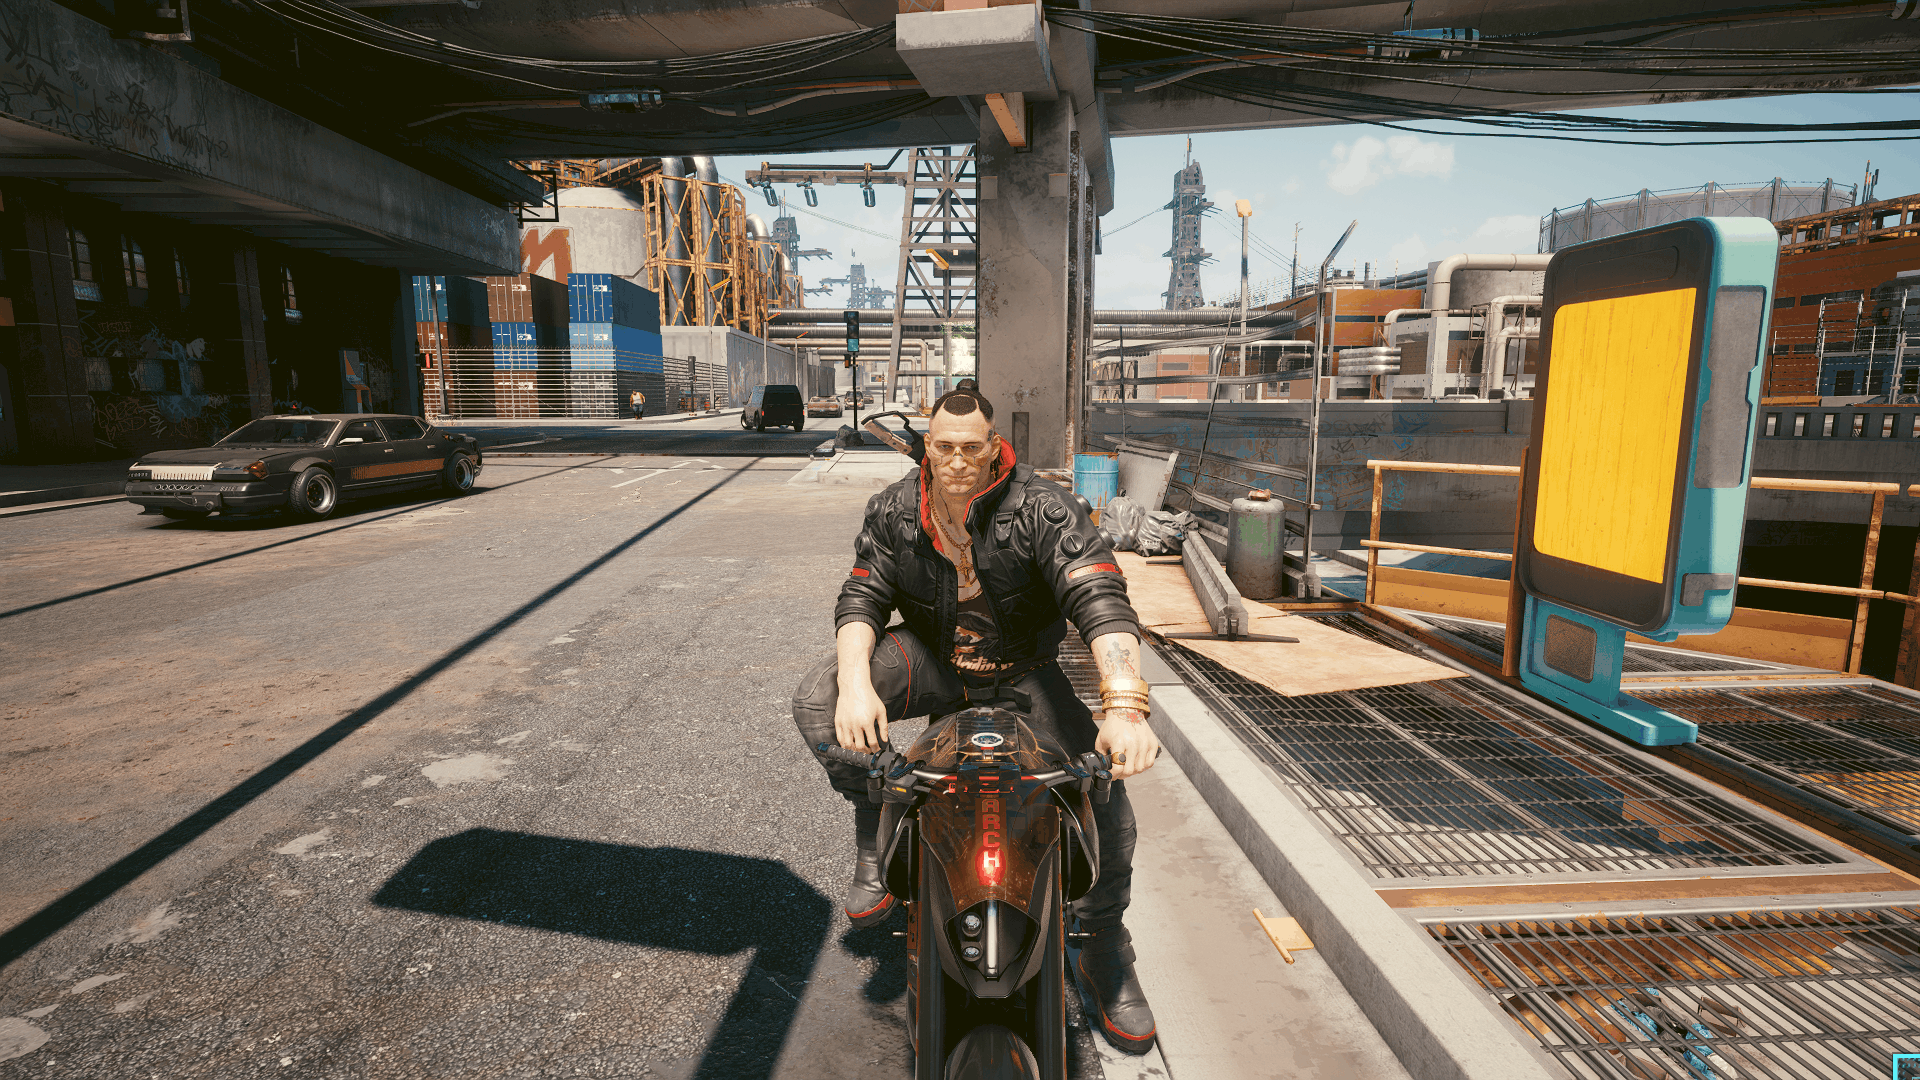
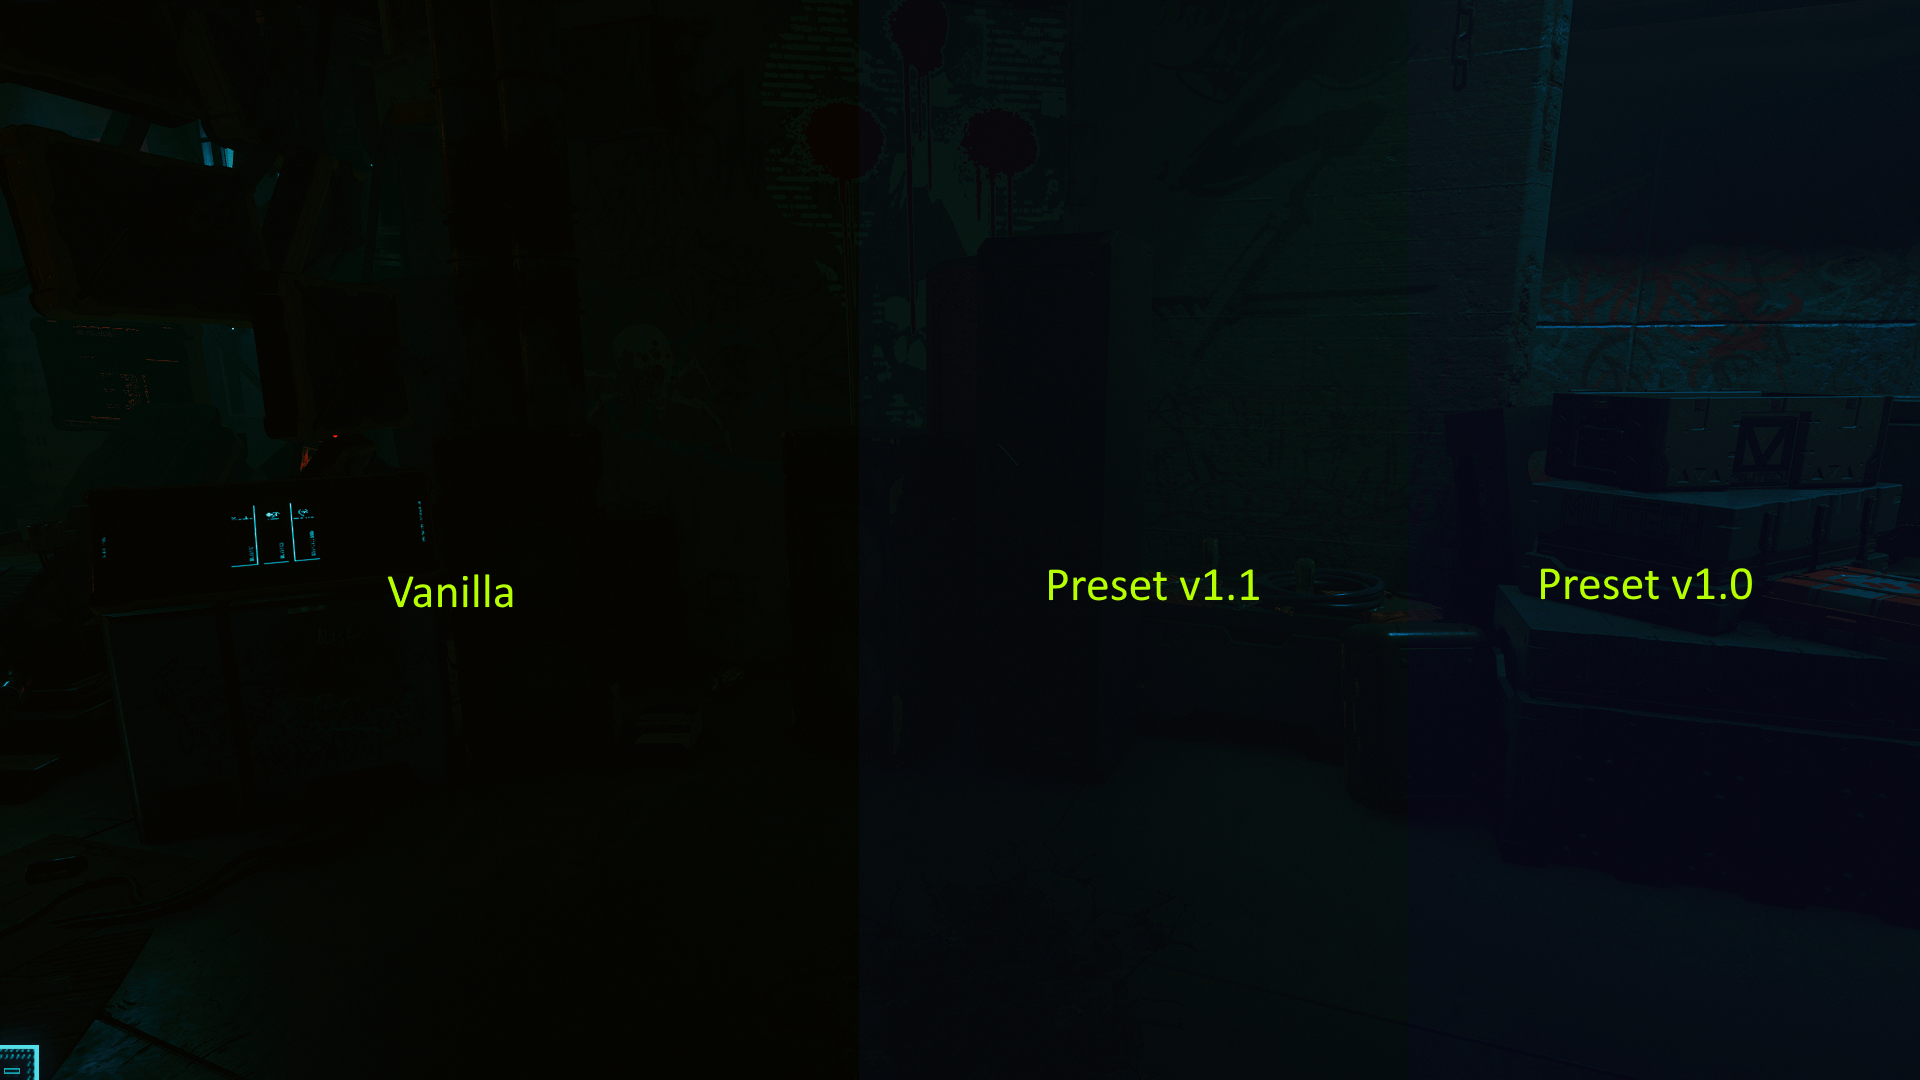
My reshade preset, going for a bright and lifelike theme. Uses a color correction shader to remove the green tint, LUT and technicolor preset to add colour, and adjusts the color temperature balance with lightroom.
I don’t use HDR or RTX so if you have those enabled it probably won’t look as bright as the screenshots. Eitherway you can always tweak the sliders to increase or decrease the brightness and contrast or other preset parameters. Don’t worry if you mess any of the parameters up when editing the preset, you can just quit the game and re-extract/replace the INI preset to restore the parameters. Just don’t forget to toggle on performance mode after.
Reshade Instructions:
1) You will need reshade in order to use this preset: reshade
2) Install it to the “Cyberpunk 2077\bin\x64\Cyberpunk2077.exe” as dx11/12 or similar, and when it asks to download shaders just click the uncheck all button then click it again to check all of the shader packs, an internet connection is required to download the shaders. After installing you don’t need to have an internet connection to use reshade. Shaders used in this preset are listed at the bottom of the description, though I suggest you install all of the shaders if you want to do some customization.
You don’t need to configure anything but if you already extracted the .ini you can browse for it after installing. Though I recommend choosing the preset in the in-game menu.
3) Extract my .ini preset to the reshade-shaders folder that was created in the \x64\ folder after installing reshade. You can use a “Preset” folder if you
want to be organized.
4) Just load into the game, and hopefully it doesn’t crash, if you get a CTD, make sure compatability mode for the exe is disabled as that’s been known to cause crashes with reshade in other games. Press the home button to open the reshade settings and change the preset to whichever it is you wish to use. You may have to either go into the “reshade-shaders” folder or click the 3 … dots to go up the directory tree. After you find the .ini preset the shaders will be applied and your game will hopefully look a bit more “bright” 🙂
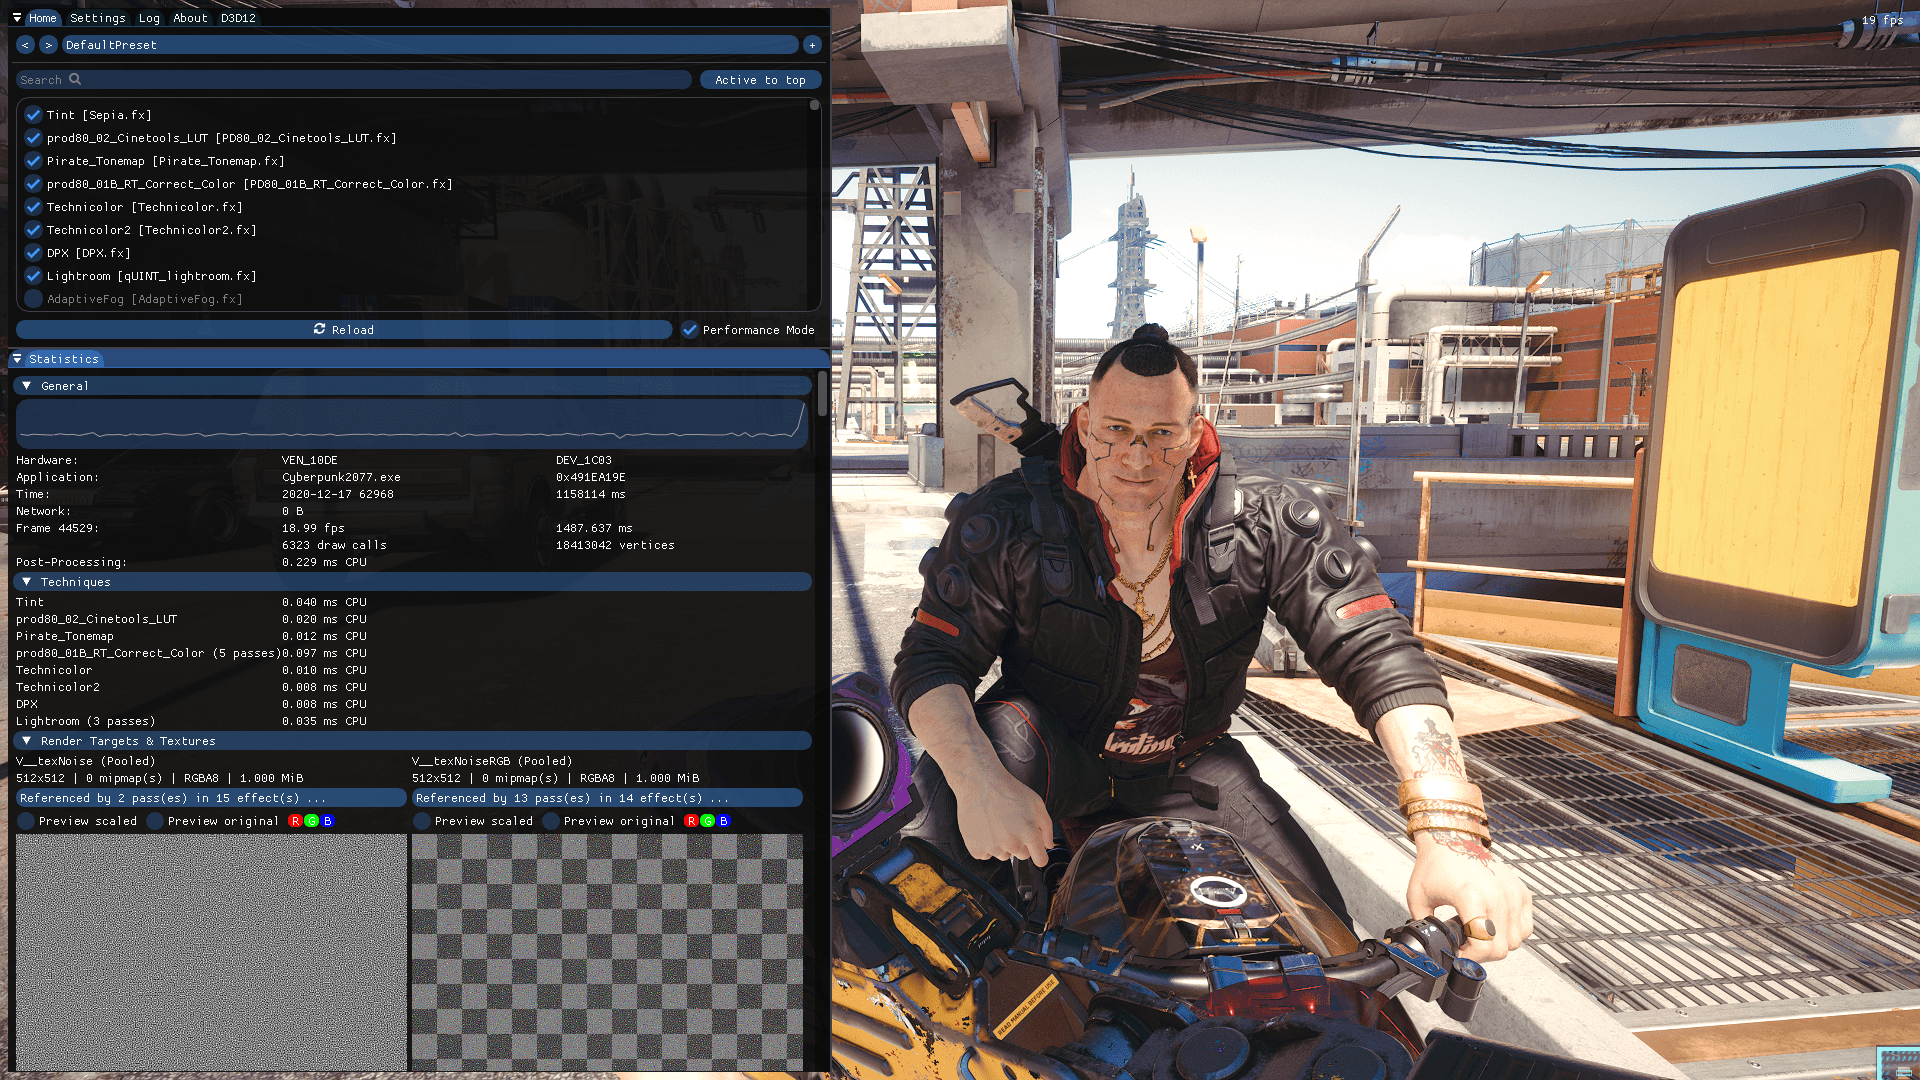
Effects Used:
1 [Tint, A.K.A. – Sepia.fx] – I used this to tweak the overall color, and make things a bit brigher. You can play around with this shader if you want to change the coloring or brightness, reset to default for a warm color.
2 [ prod80_02_Cinetools_LUT] – Similar to lightroom, but less customizable, it’s basiaclly a bunch of color LUT presets you can choose from with a few basic sliders to tweak the gamma and intensity. This is a quick and easy way to get a good looking LUT, no complex settings to mess with.
3 [ Pirate Tonemap ] – improves color
4 [ prod80_01B_RT_Correct_Color ] – Corrects blue and green tints and gray/low constrast.
5 [ Technicolor ] – Desaturates/Reduces color
6 [ Technicolor2 ] – Adds color
7 [DPX] – Adds some brightness and makes the game look less “cartoony” by lowering the saturation.
8 [Lightroom, A.K.A. – qUINT_lightroom.fx] – The main shader used in this preset, it basically modifies the individual colors and luminosity. The parameters I used lower the saturation but make it a bit more vibrant, and make things look bright but not too washed out. I also tweaked the colors a bit to make the game a bit more life like. If you enable the LUT overlay, it will show the color effects this shader uses, if you are playing in a resolution lower than 1080p, then you’ll have to lower the amount of tile count to fit in your screen, if you’re playing in a resolution higher than 1080p, you can either increase the LUT or just
leave it the way it is. You can also tweak the whitebalance to change the brightness. Increase the saturation if you want more color, and lower the vibrance if it’s too colorful, or increase the contrast and lower the gamma if you want it to be darker.
[Copy Restrictions]
This isn’t really that important to me, nor do I care much about this mod.
You’re free to mess with and make your own versions of this mod, as well as share/upload it.
Just don’t break any laws/copyright infringements like reuploading others people work or what not
I’m not sure what else there is for me to say or mention, so happy modding I guess