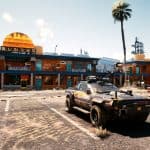


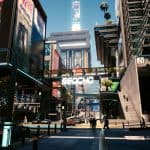
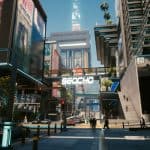


Anti-Aliasing and DLSS Blender
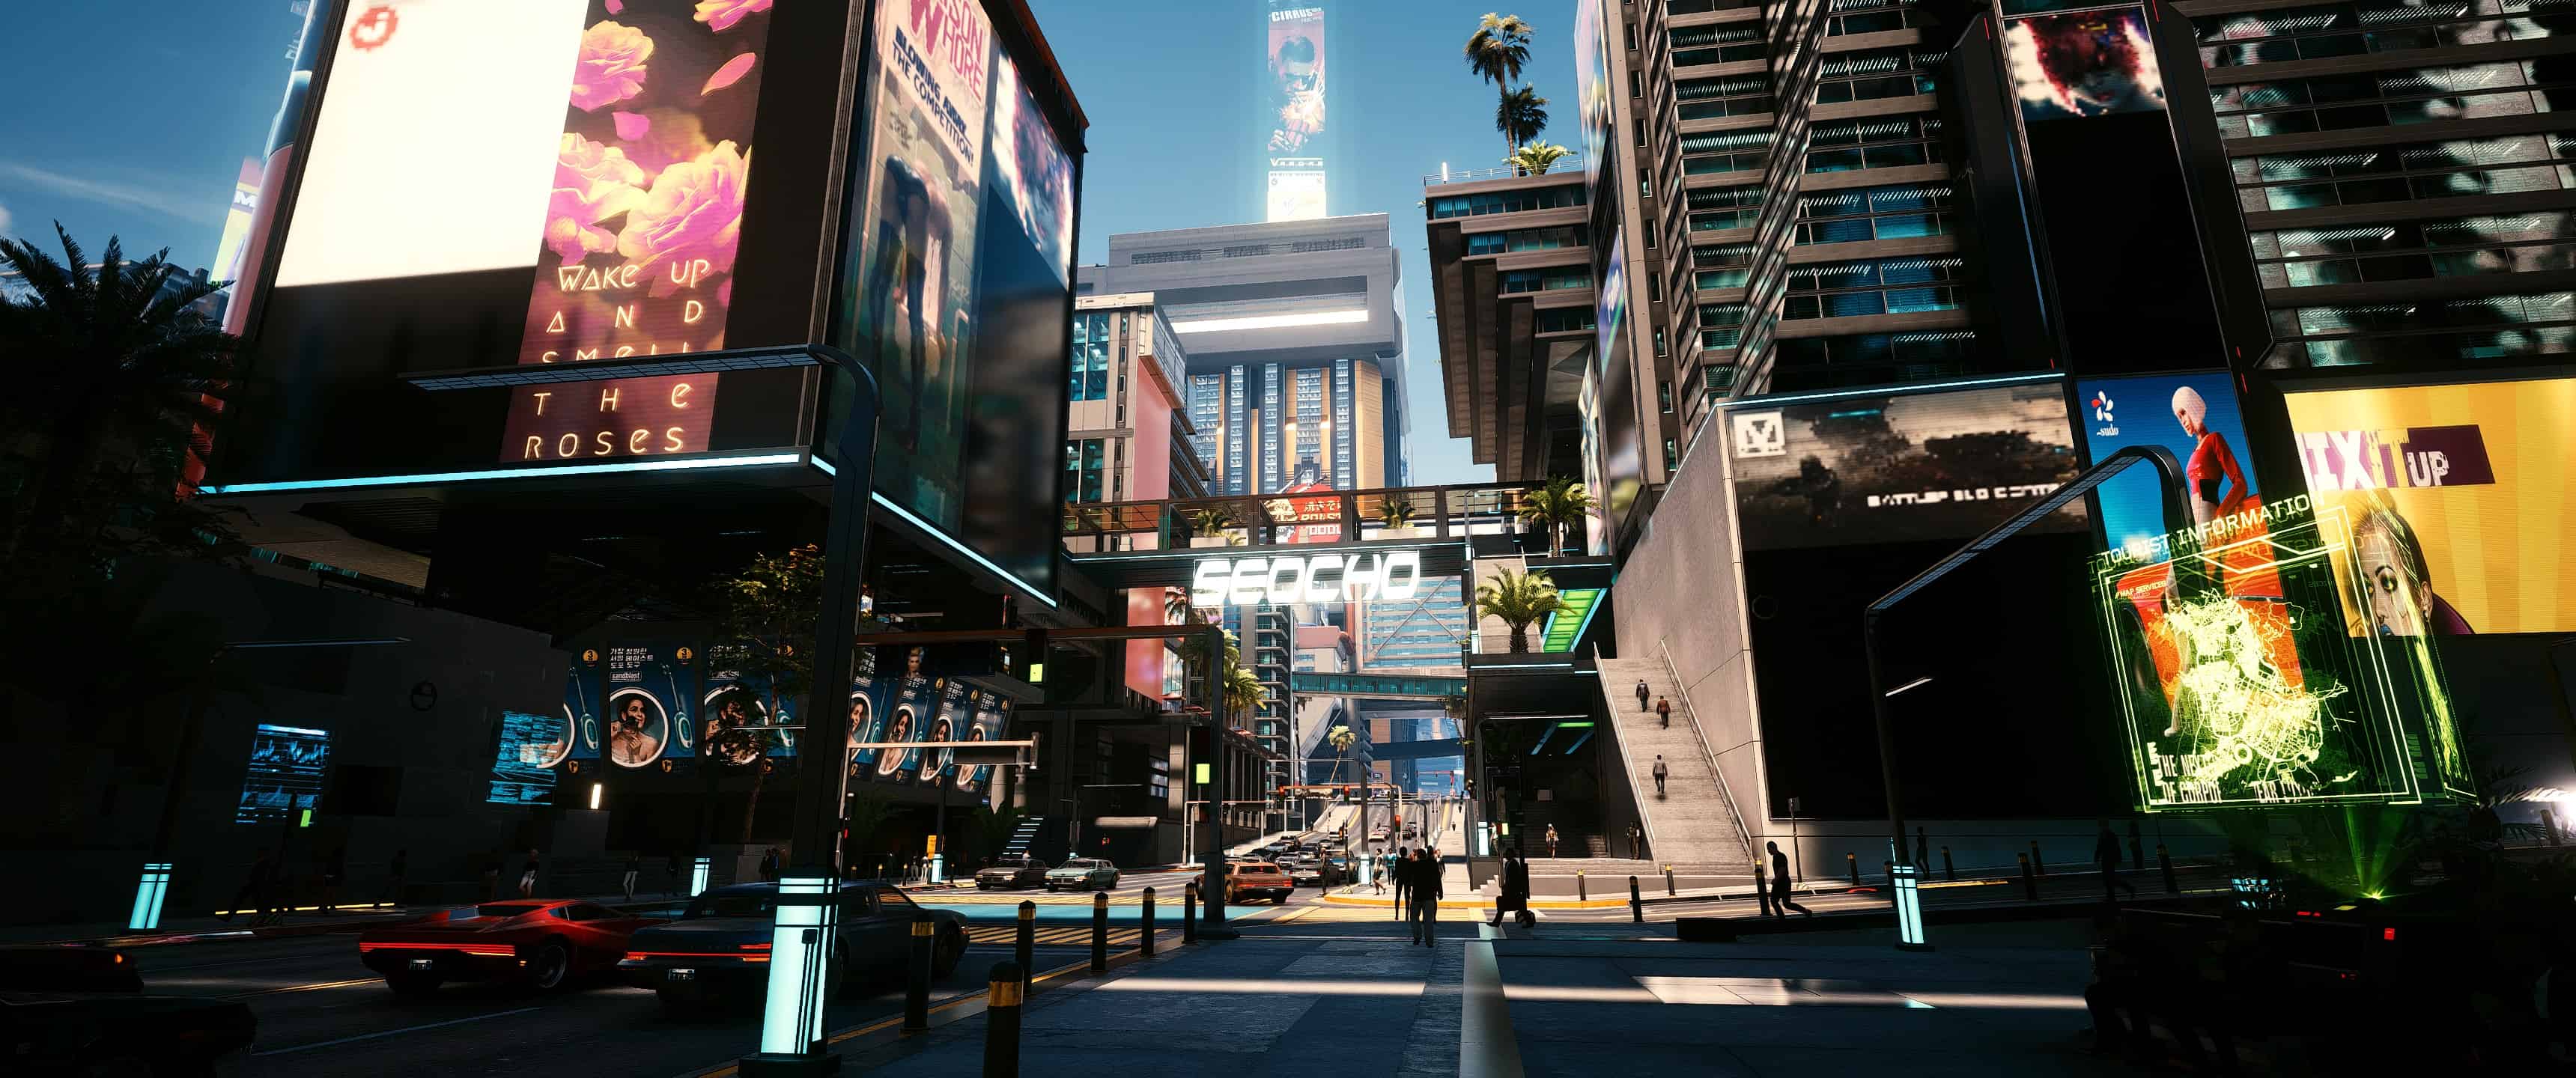
This reshade is meant to do to Anti-aliasing blur what street thugs did to batman’s parents. Install only if your goal is the sharpest possible image without causing artifacts. Does come with a 10-15% performance hit, but I included a guide for minimizing that. This works ESPECIALLY well for DLSS modes.
Introduction
Hello! I tried several of the re-shades on the website and most deviated too far from the base game’s color palette, or just did not look great for me. I made my own preset that aims primarily to make blur from DLSS/TAA a thing of the past. Fully disabling TAA (which you can do with cyberpunk tweaker: https://www.cyberpunk2077mod.com/cyberpunktweaker-taa-and-other/) will break DLSS, and obviously give you rougher edges, especially on lower resolutions.
This reshade will also improve color contrast and give a fake-HDR effect while having a minimal effect on lighting quality. I highly recommend pairing this with Performance Overhaul if on an AMD CPU: https://www.cyberpunk2077mod.com/performance-overhaul/.
I tuned this on my Acer Predator X34P ultrawide IPS display at 3440×1440 DLSS Balanced, RT Lighting Ultra, everything else max. Your results will likely vary if you are on a different panel type, lower resolution, not playing with ray tracing, etc….
Performance Impact
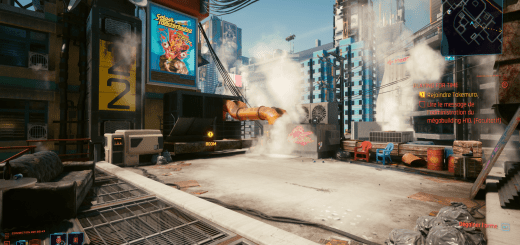
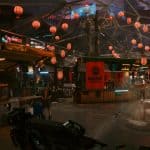
I like to use the cherry blossom market to test since this is a complex scene with lots of light sources, shadows, people and generally it is just a very demanding scene to render. There are much more demanding scenes, but this one is right next to a fast travel point. In this location the shader preset drops me from 60 FPS to 53 FPS (I have decided I am willing to play as low as 50 FPS given how good the game looks). In general you can expect up to a 15% performance cost at the most.
If you do take too much of a hit, I recommend disabling shaders in the following order to get the best image quality with the lowest FPS cost:
1. Clarity – By far the highest FPS cost, and with the sharpening from the other shaders you will still have a good quality image without it.
2. Levels – Has a minimal impact on the overall image quality in most cases, will get you 1-2 FPS back.
3. Liftgammagain – This improves colors, but you will get 2-3 FPS back disabling it without losing any sharpness.
4. HDR – The last one that has any real performance impact that is not central to the goal of the reshade. Will significantly reduce color quality though.
Basically I layered multiple sharpening filters to achieve the sharpest possible image with the least over-sharpening artifacts. If you simply turn up sharpening from one source it has a tendency to make faces and distant objects look horrible.
Install
1. Install the latest version of ReShade: Reshade 4.8.2
2. Unzip the .zip file to your bin\x64 folder. Ex. “C:\Program Files (x86)\GOG Galaxy\Games\Cyberpunk 2077\bin\x64”. You may be asked to overwrite files if you already installed shader packages when you installed ReShade.
3. Disable any other sharpening sources you may have been using, they will cause extreme over-sharpening when used in conjunction with this reshade. Ex. – Nvidia control panel sharpening, Fidelity CX CAS (can just turn down/off the sharpening slider), Geforce overlay sharpening, etc.
4. Boot up the game and press Home. Select AA Blender.ini from the drop down at the top.
5. Burn this city!
Hope you enjoy playing with both quality and performance. Take advantage of those DLSS settings better with these filters improving DLSS past native resolution (kinda)!

