It’s breathtaking – Sphiratrioth’s Photorealistic Reshade
INTRODUCTION
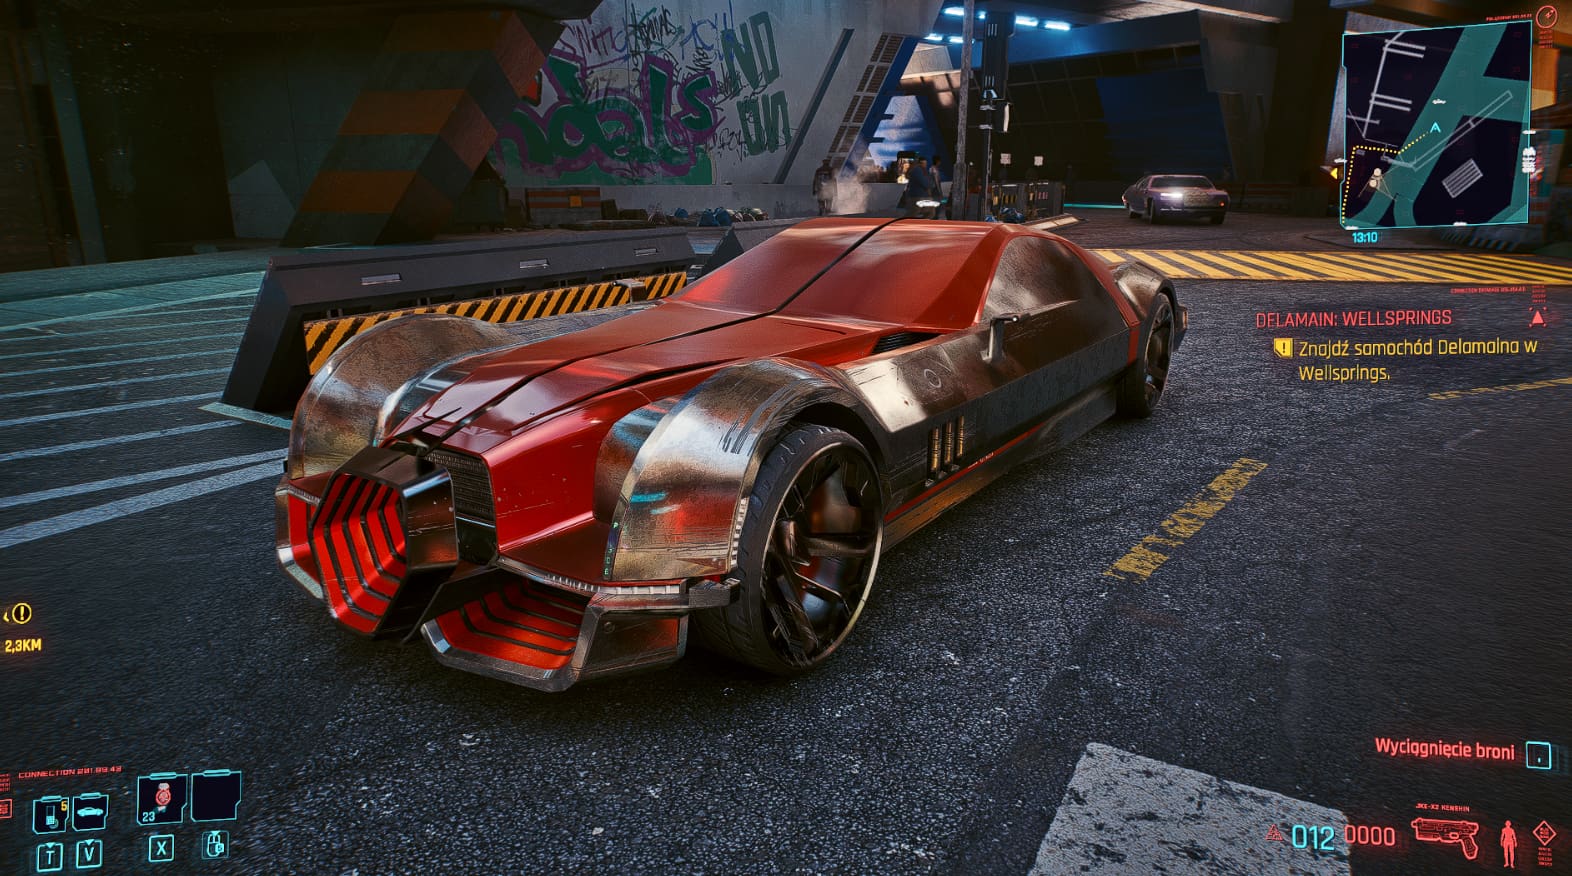
Since many “photorealistic” Reshade presets here tend to overdo it with a fake HDR/LEVELS etc. to deepen the shadows/scene exposition, in result – everything becomes too dark. It makes details of all the surfaces, clothes and such often disappear in darkness. Black point goes up to the ridiculous levels as well so the whole picture gets darker like hell. No one wants that. A dark-hole style black does not exist in real life nor in drawing/painting/rendering. Natural darkness is more like a dark graphite color darkness so a fake HDR has a tendency of darkening everything too much. This preset aims at not crossing the line with darkening while still making shadows and colors much deeper with a better temperature & saturation.
WHAT IT DOES IN DETAILS
– sharpen everything (heavy sharpen) [YOU MUST TURN THE FILM GRAIN OFF – OTHERWISE IT’S GONNA LOOK BAD, TRUST ME]
– green filter reduction (many people do not like it, it’s not realistic either)
– color saturation and temperature boost (most people enjoy full, colorful images but without green/blue/red noise filter like a green one that vanilla game has)
– shadows deepening (without darkening everything, which 1000 presets using a fake HDR/LEVELS etc. do here and I hate it – natural darkness is more like a dark graphite color, which I have already mentioned)
– “HDR” feeling without making everything too dark
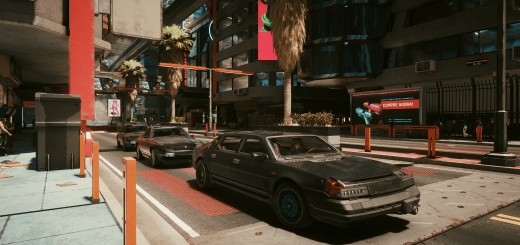
WHERE IT LOOKS BEST
– on the surfaces – roads, pavements, walls
– on red, blue, green materials – makes those colors deeper (don’t worry, the general green filter is off so it’s not gonna reactivate it)
– on distant buildings in perspective (two options here: a) with adaptive fog – makes buildings sharp and colorful but naturally covered by fog & vapor but the menu screens are also covered in fog :-P; b) without adaptive fog – buildings crispy sharp in distance but no menu fog pollution – you may simply turn it on/off with a single button)
KEY CONFIGURATION (MINE, FEEL FREE TO CHANGE THEM IN RESHADE)
PG-DWN = UNSHARP (boosts the colors temperature & saturation)
DEL = ADAPTIVE FOG (turned off by defailt – adds fog to all the distant buildings/horizon or allows you turning it off while using a menus; alternatively, you may just turn it off completely the way it is now)
END = FINAL SHARPENING (turn it off if you find the picture too sharp or too grainy)
–> RAY TRACING ON / OFF (looks great regardless)
–> DLSS ON (if you’re using it, then it removes the irritating blurriness – as much as possible)
–> 2-3 FPS LOSS (at least, on my RTX 3070 Ti – for you it may be more or less but I think it’s totally worth it)
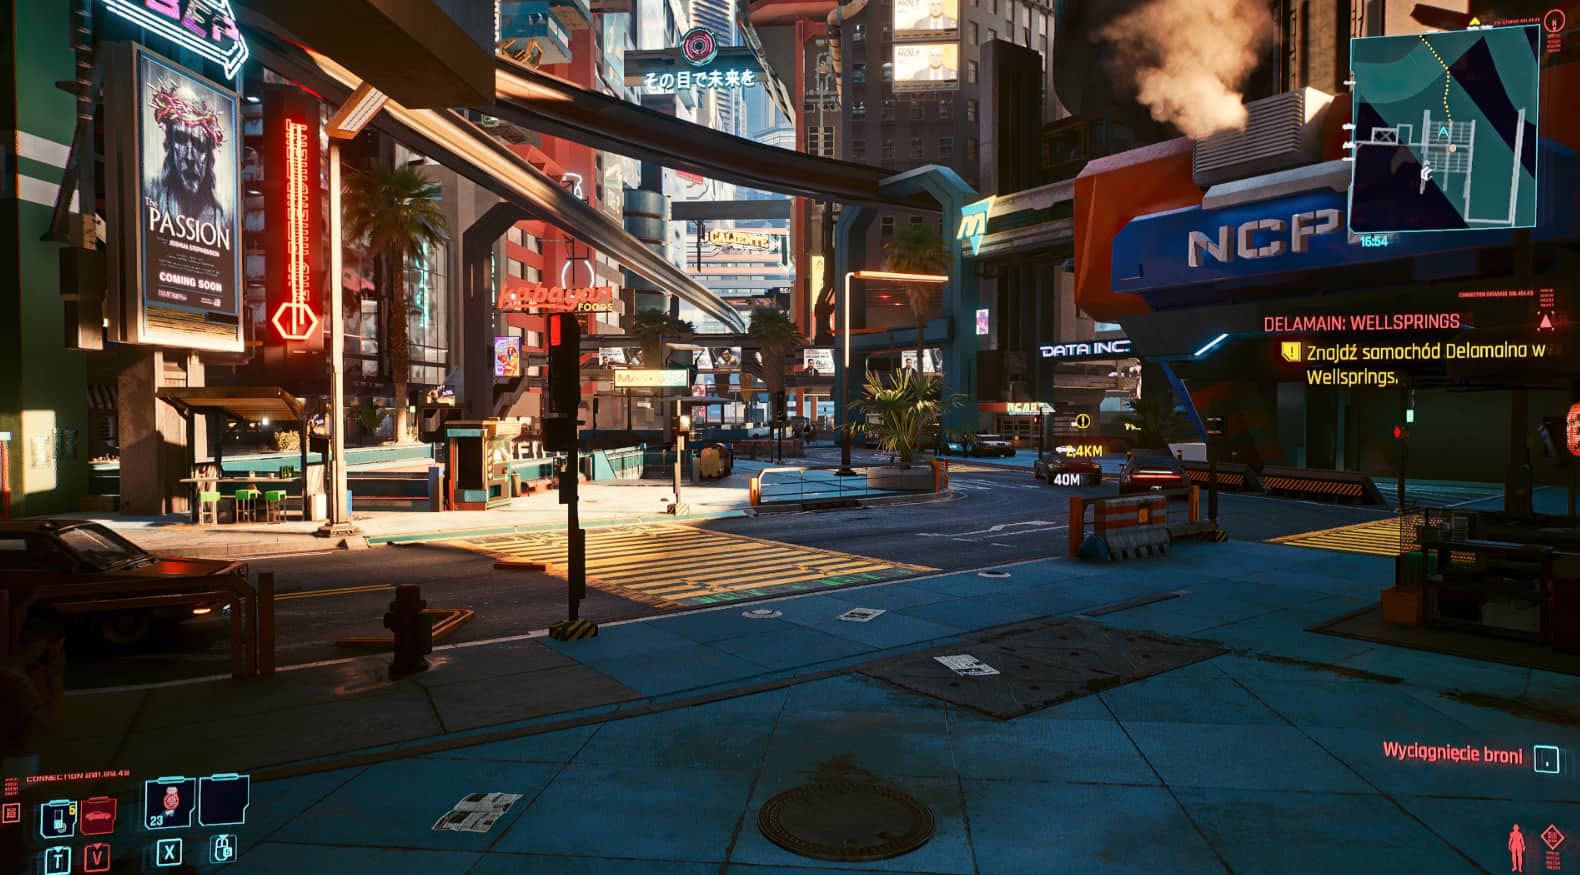
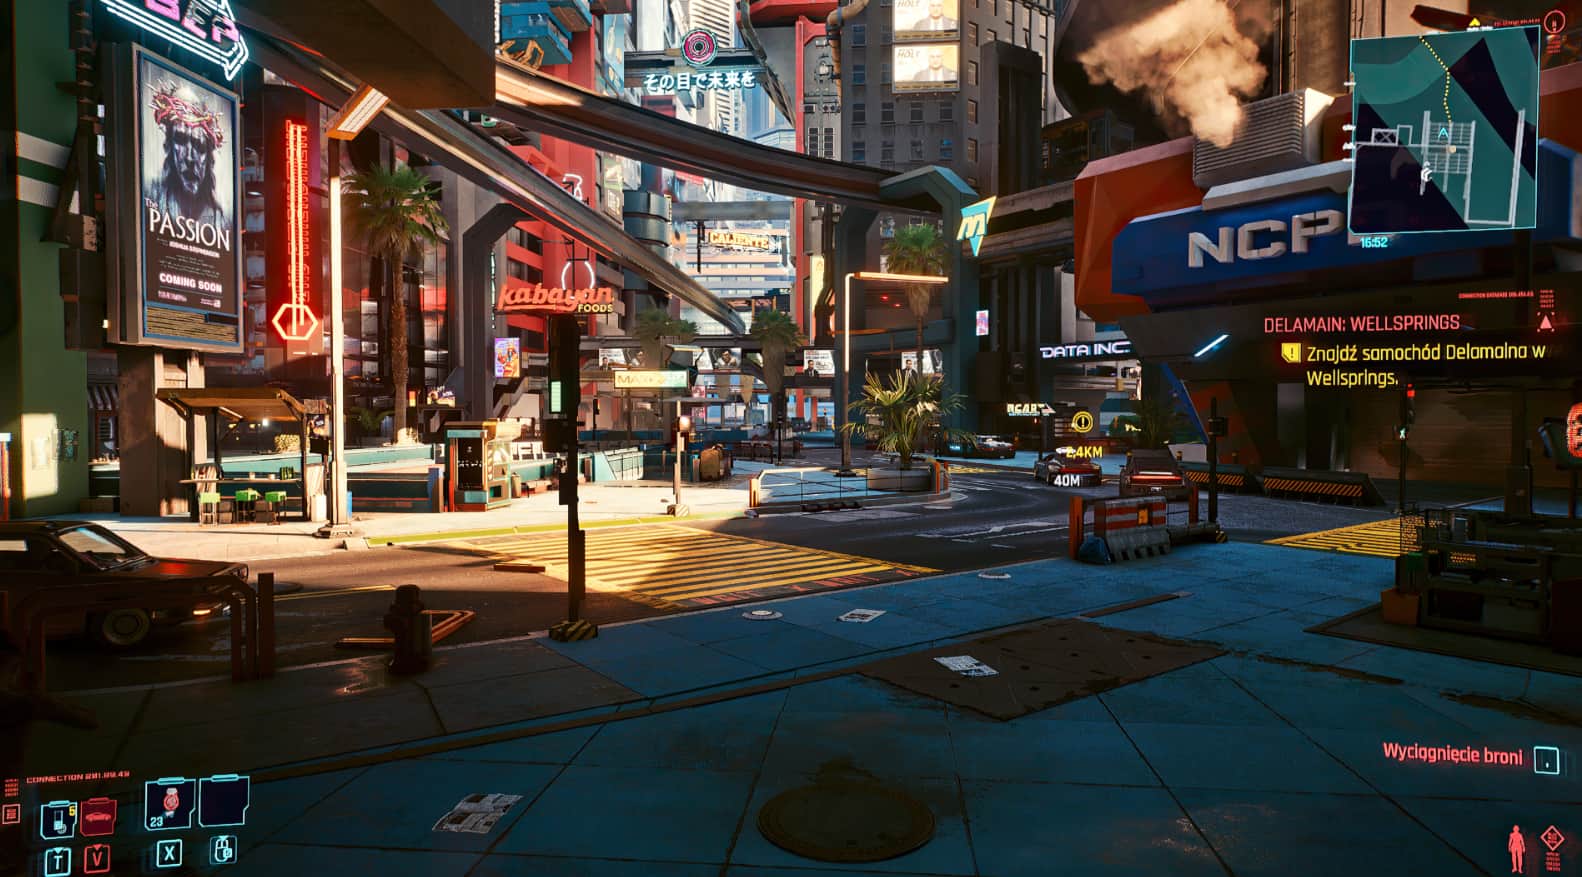
–> PERSONAL OPINION: MAKES THE GAME LOOK BETTER THAN JUST TURNING THE RAY TRACING ON EVEN IF YOU’RE PLAYING WITH RAY TRACING OFF (see the screenshots). WITH BOTH A RAY TRACING & THIS PRESET ON IT GETS EVEN BETTER. HOWEVER – TO ME – IT STILL MAKES THE GAME MORE ATTRACTIVE IF YOU APPLY IT WITHOUT USING RAY TRACING THAN IT LOOKS AFTER JUST TURNING THE RAY TRACING ON WITHOUT A RESHADE.
IN OTHER WORDS:
RAY TRACING ON + RESHADE = BEST
RAY TRACING OFF + RESHADE = GREAT
RAY TRACING ON – RESHADE OFF = MEH, NOT WORTH THE FPS LOSS
INSTALLATION GUIDE
1. Download Reshade.
2. Install it for Cyberpunk 2077 game (follow instructions within the file or the universal guides of how to install Reshade from Google. It’s extremely easy.
IMPORTANT: While installing – download all the effects available to tick from all the packs.
3. Just place my preset .ini file in a folder where your game .exe is.
4. Load the game, press HOME (default Reshade overlay shortcut). After that, preferably read the Reshade intro instead of skipping it like experienced Reshade users do (or skip it anyways, guides are for Misty – V & Johnny just kick the door raw, right?), rebound the buttons to whatever you want (effects activation keys – you need it to activate/deactivate live while gaming).
5. LOAD MY PRESET ON THE PAGE WHERE ALL THE EFFECTS ARE (PRESETS BAR ON THE TOP) & PRESS THE ACTIVATION BUTTON WHILE PLAYING TO SWITCH IT OFF/ON AGAIN. It should show up on the list assuming that you copy-pasted it into the game .exe folder and it should load in when you choose it from the presets bar for the first time.