

Netrunner Cinematic ReShade Collection
Gameplay-Friendly Graphics Overhaul – 7 Presets – Performance Friendly – Cyan Filter Remover Included
This a collection of 7 carefully crafted ReShade presets that remove the cyan filter from the game while adding well done, OPTIONAL, GAMEPLAY-FRIENDLY cinematic effects. There are many looks to choose from including vivid, gritty, and arthouse. Each presets has toggle keys for all new added cinematic effects, including working depth-of-field.
DESCRIPTION AND FEATURES:
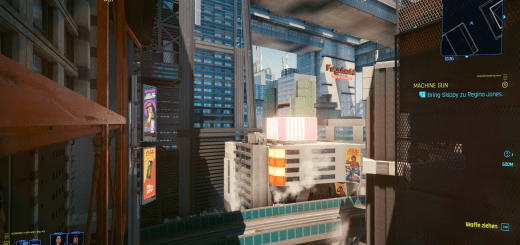
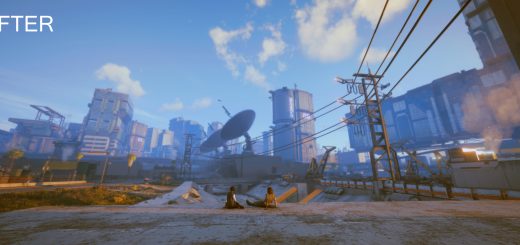
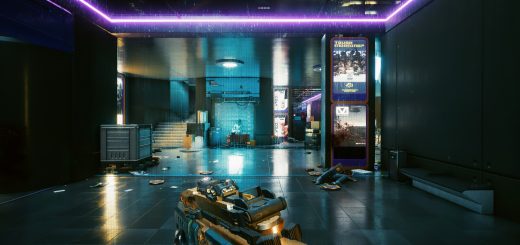
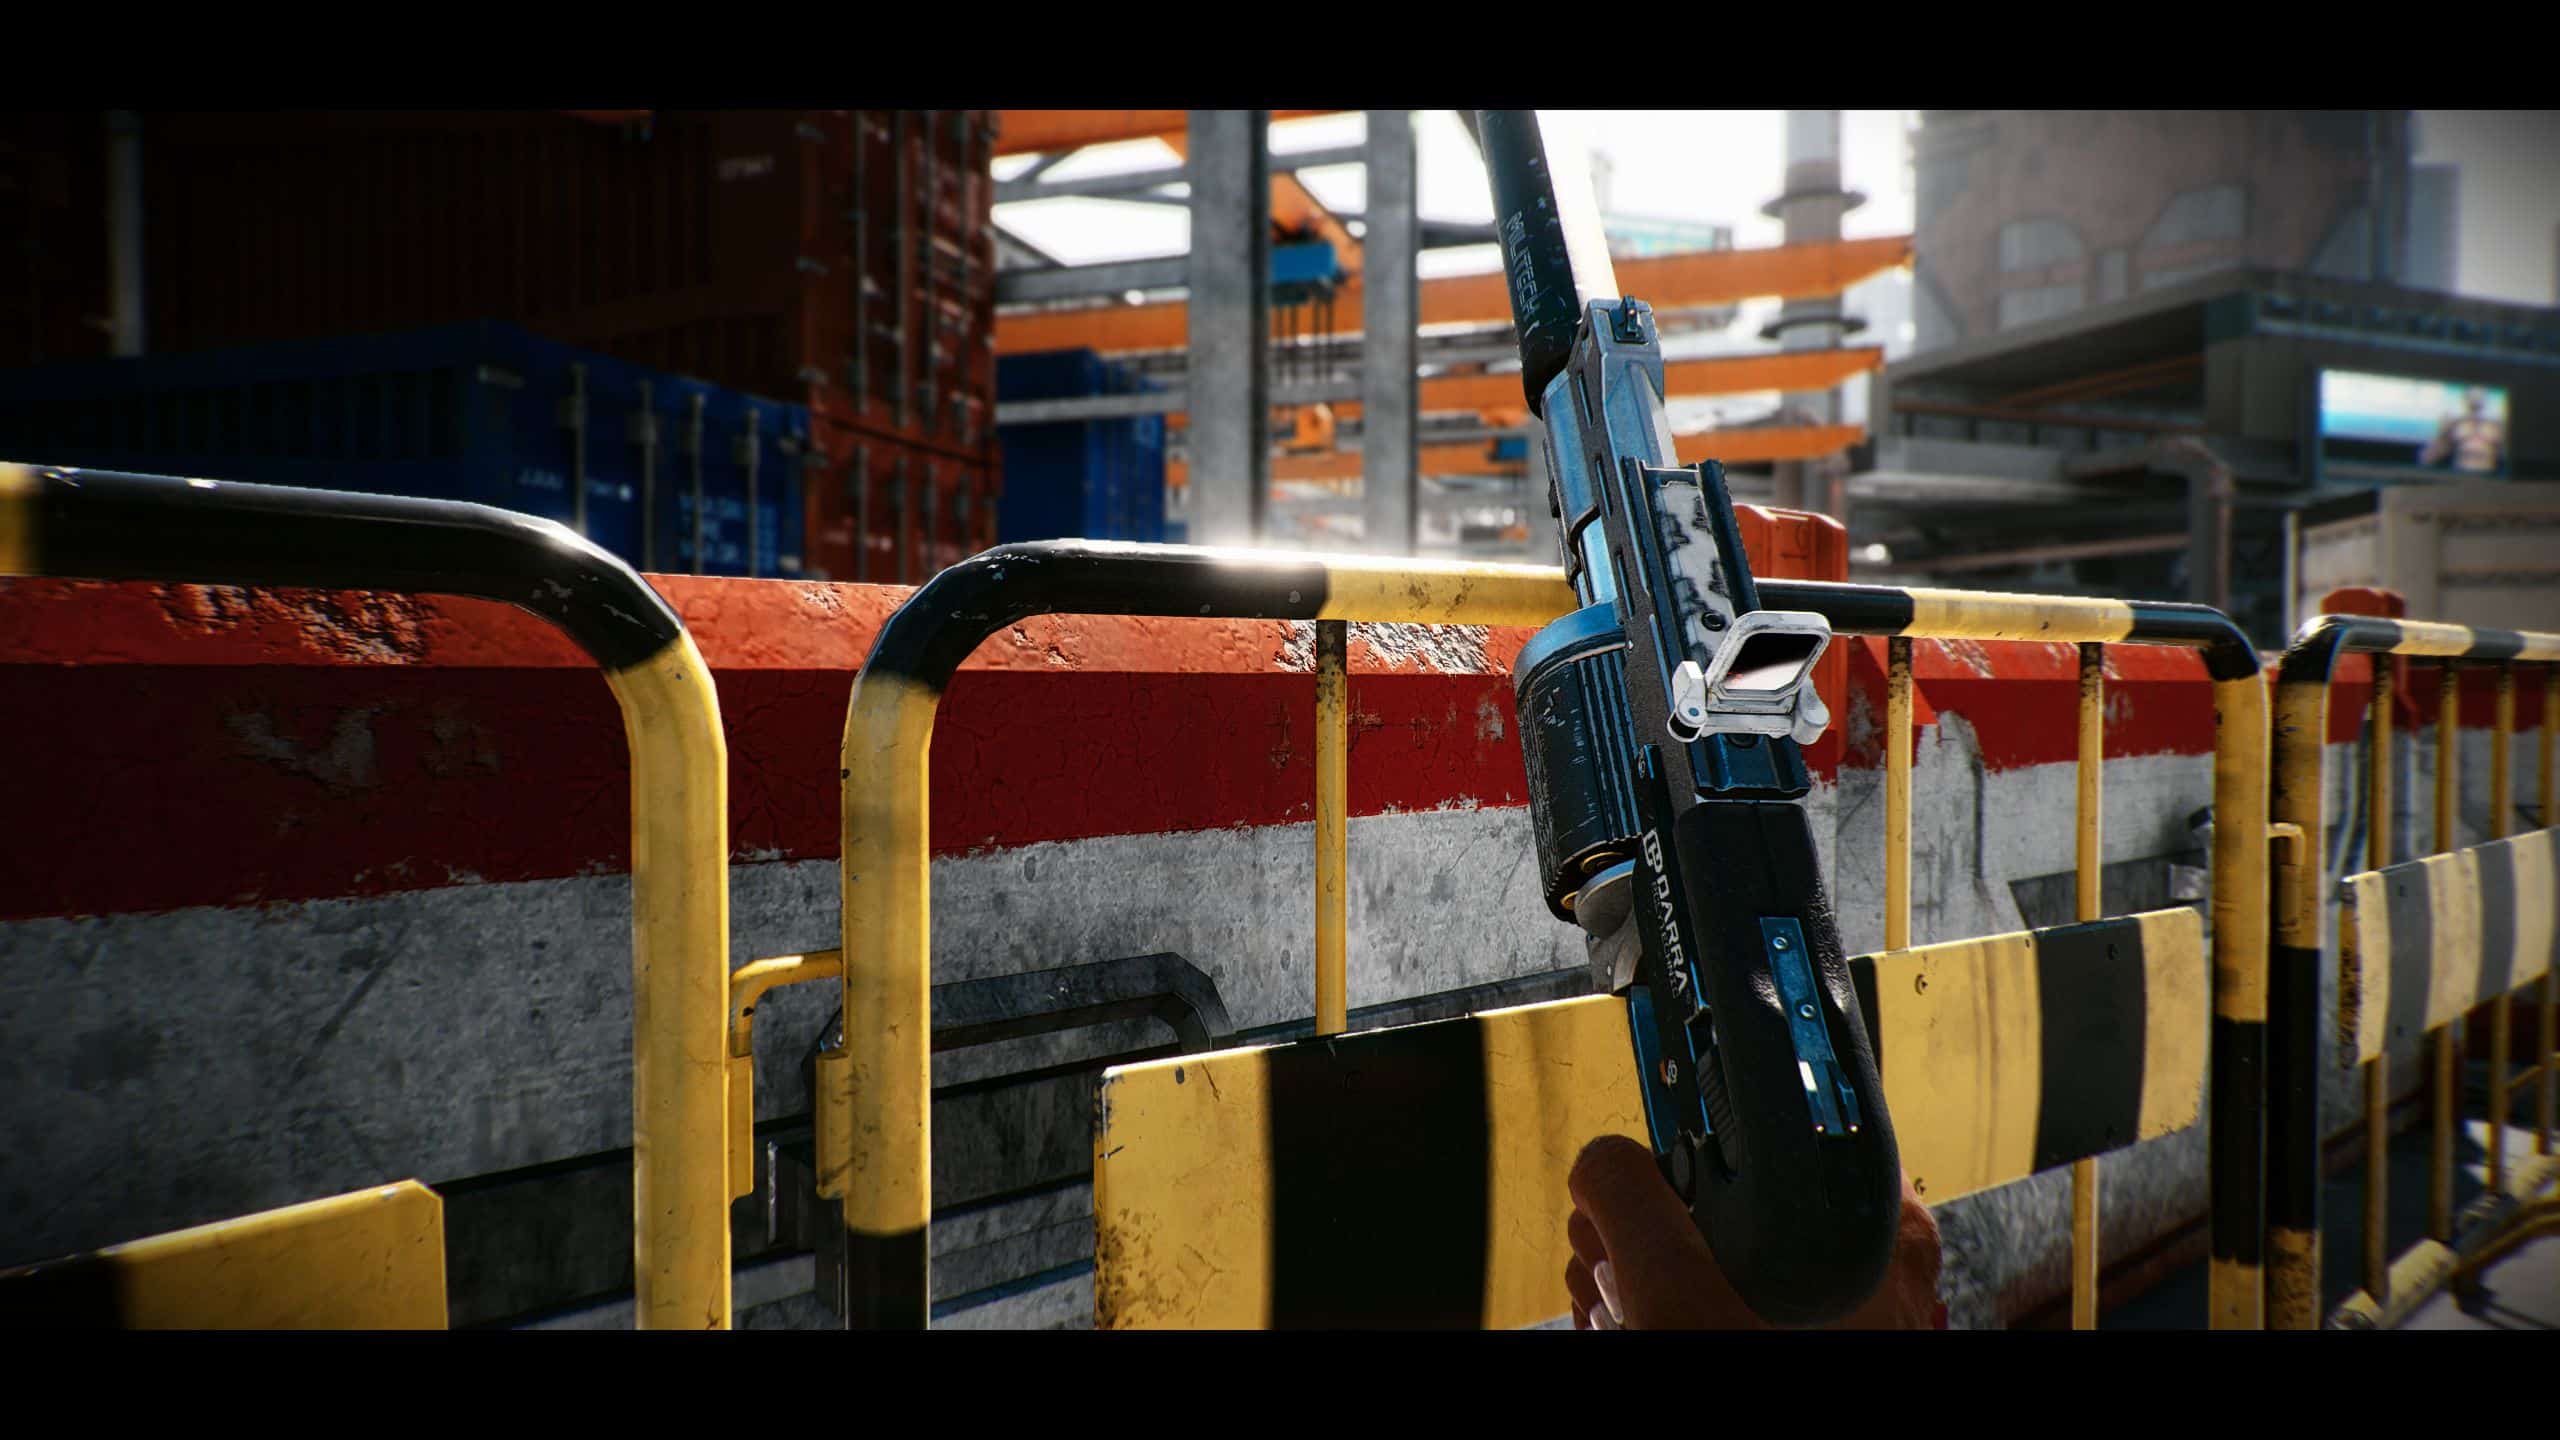
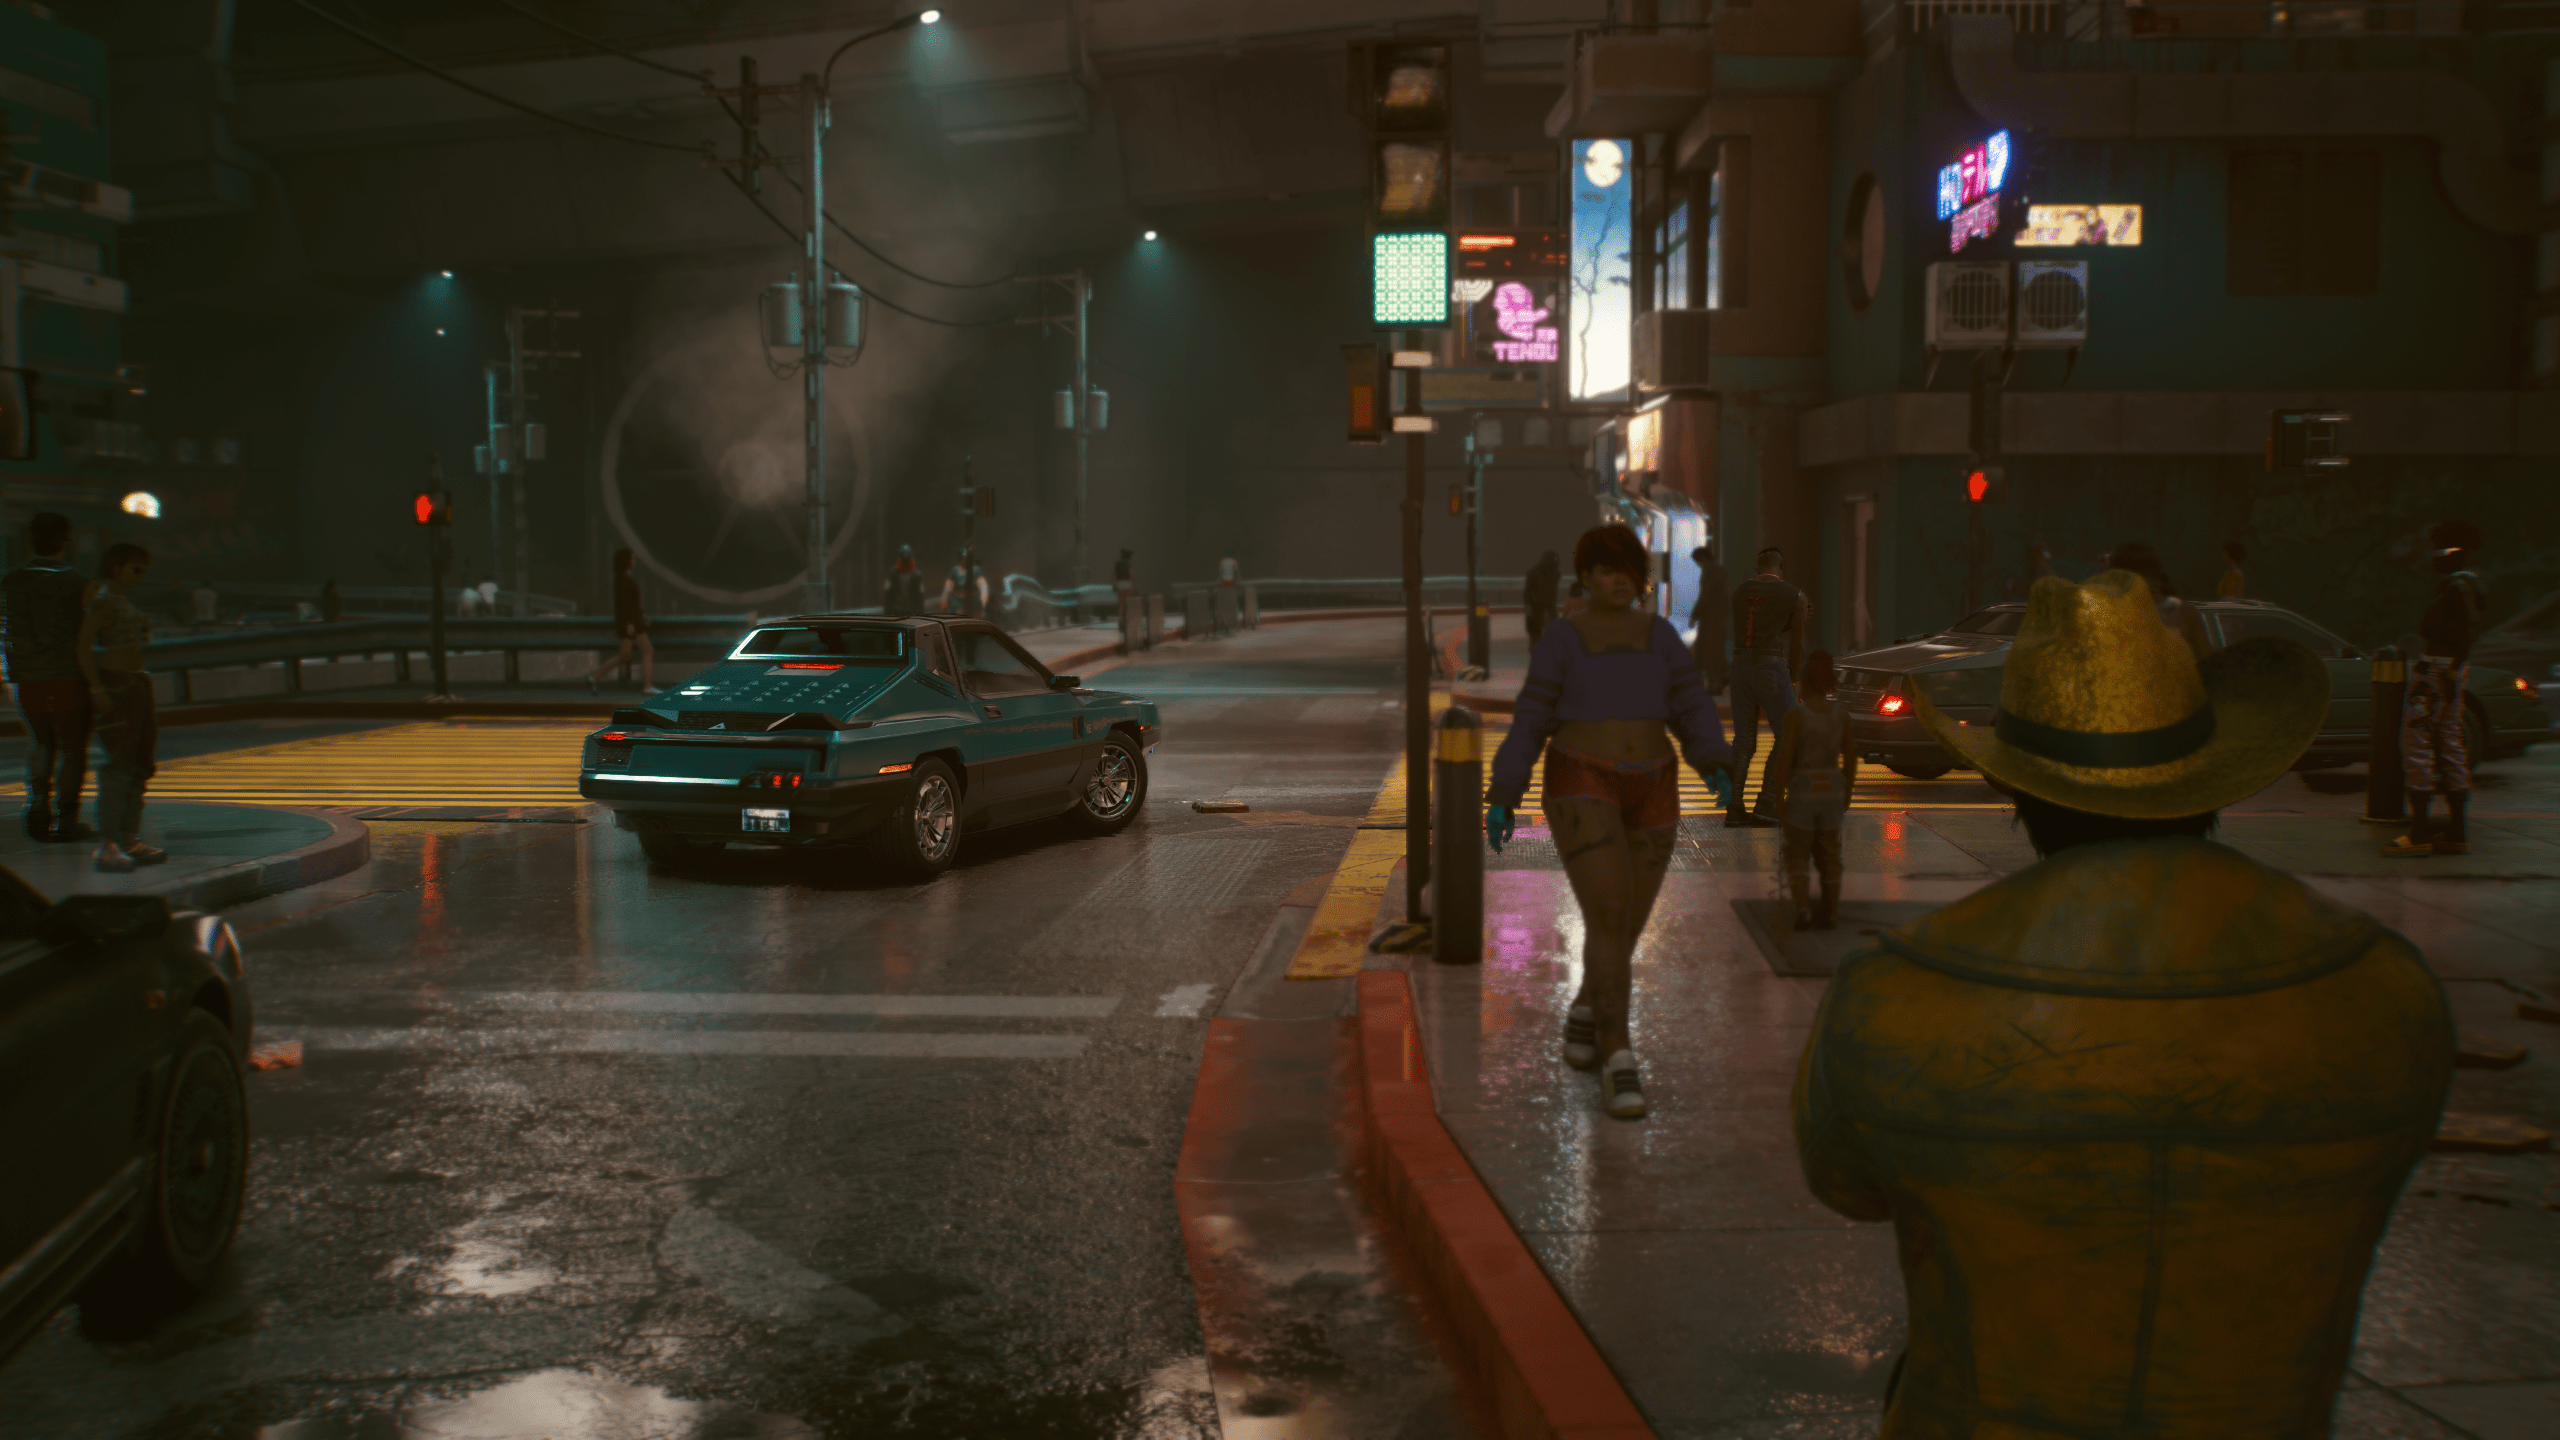
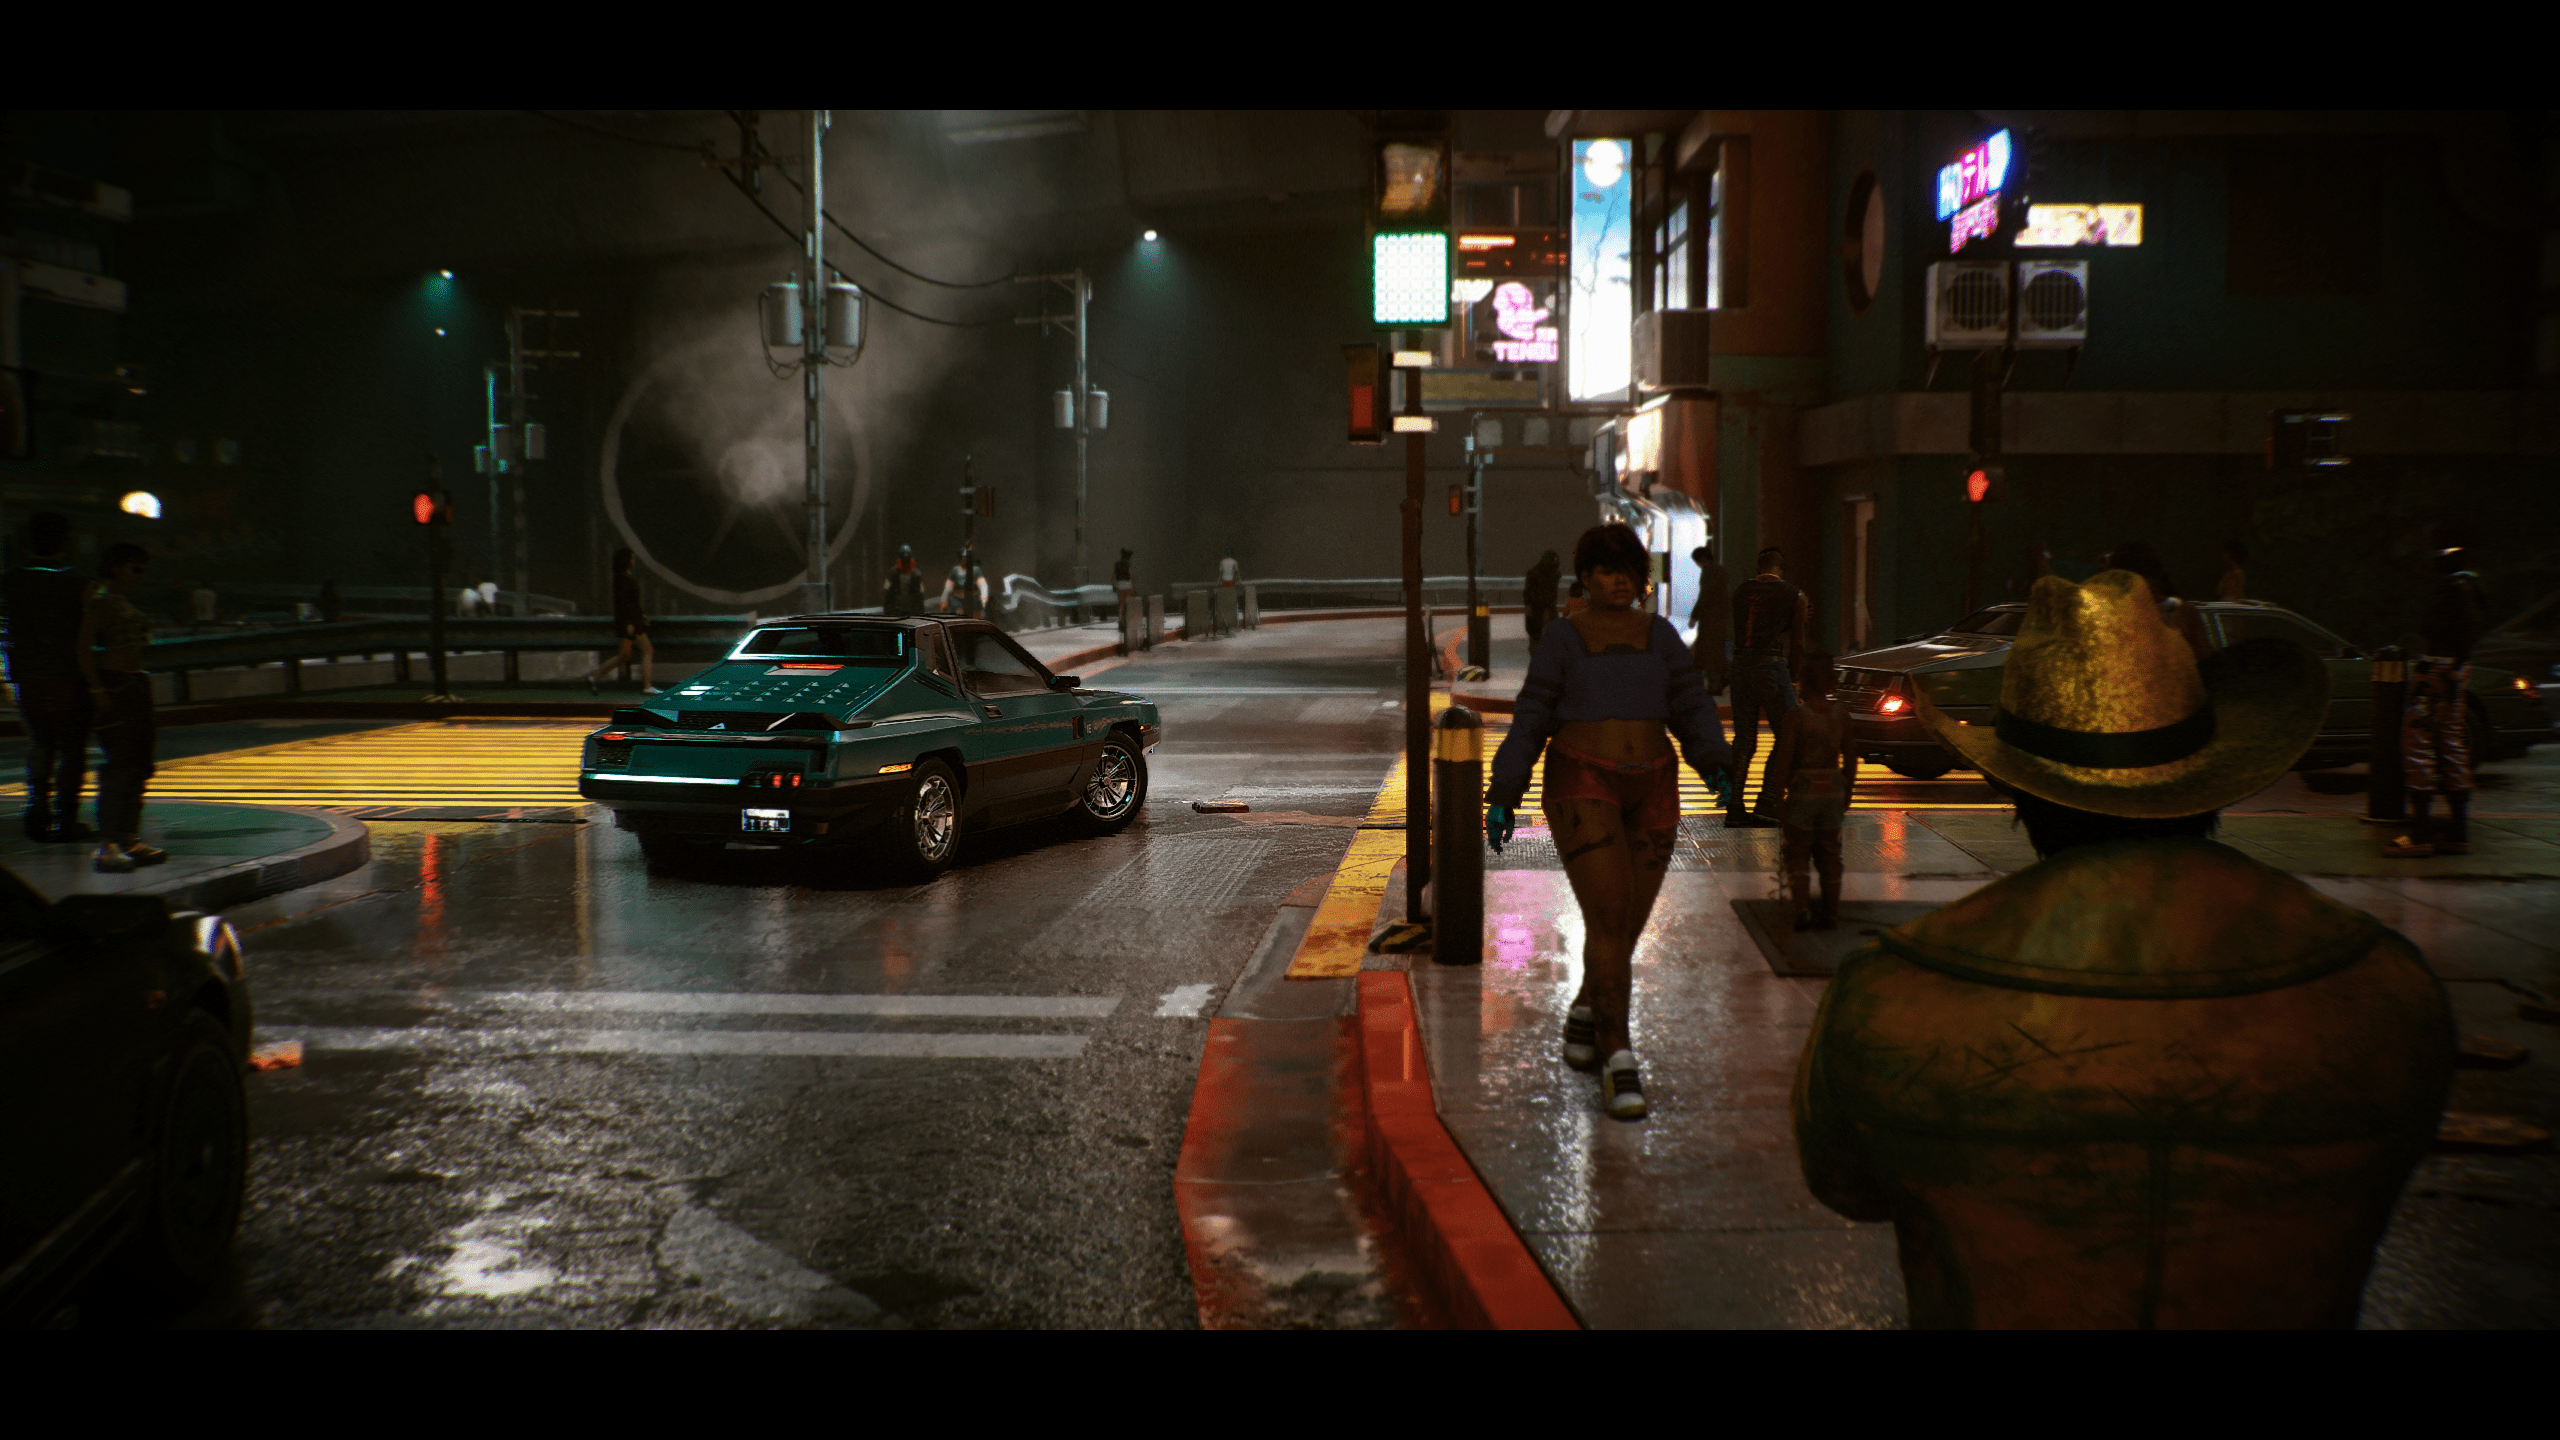
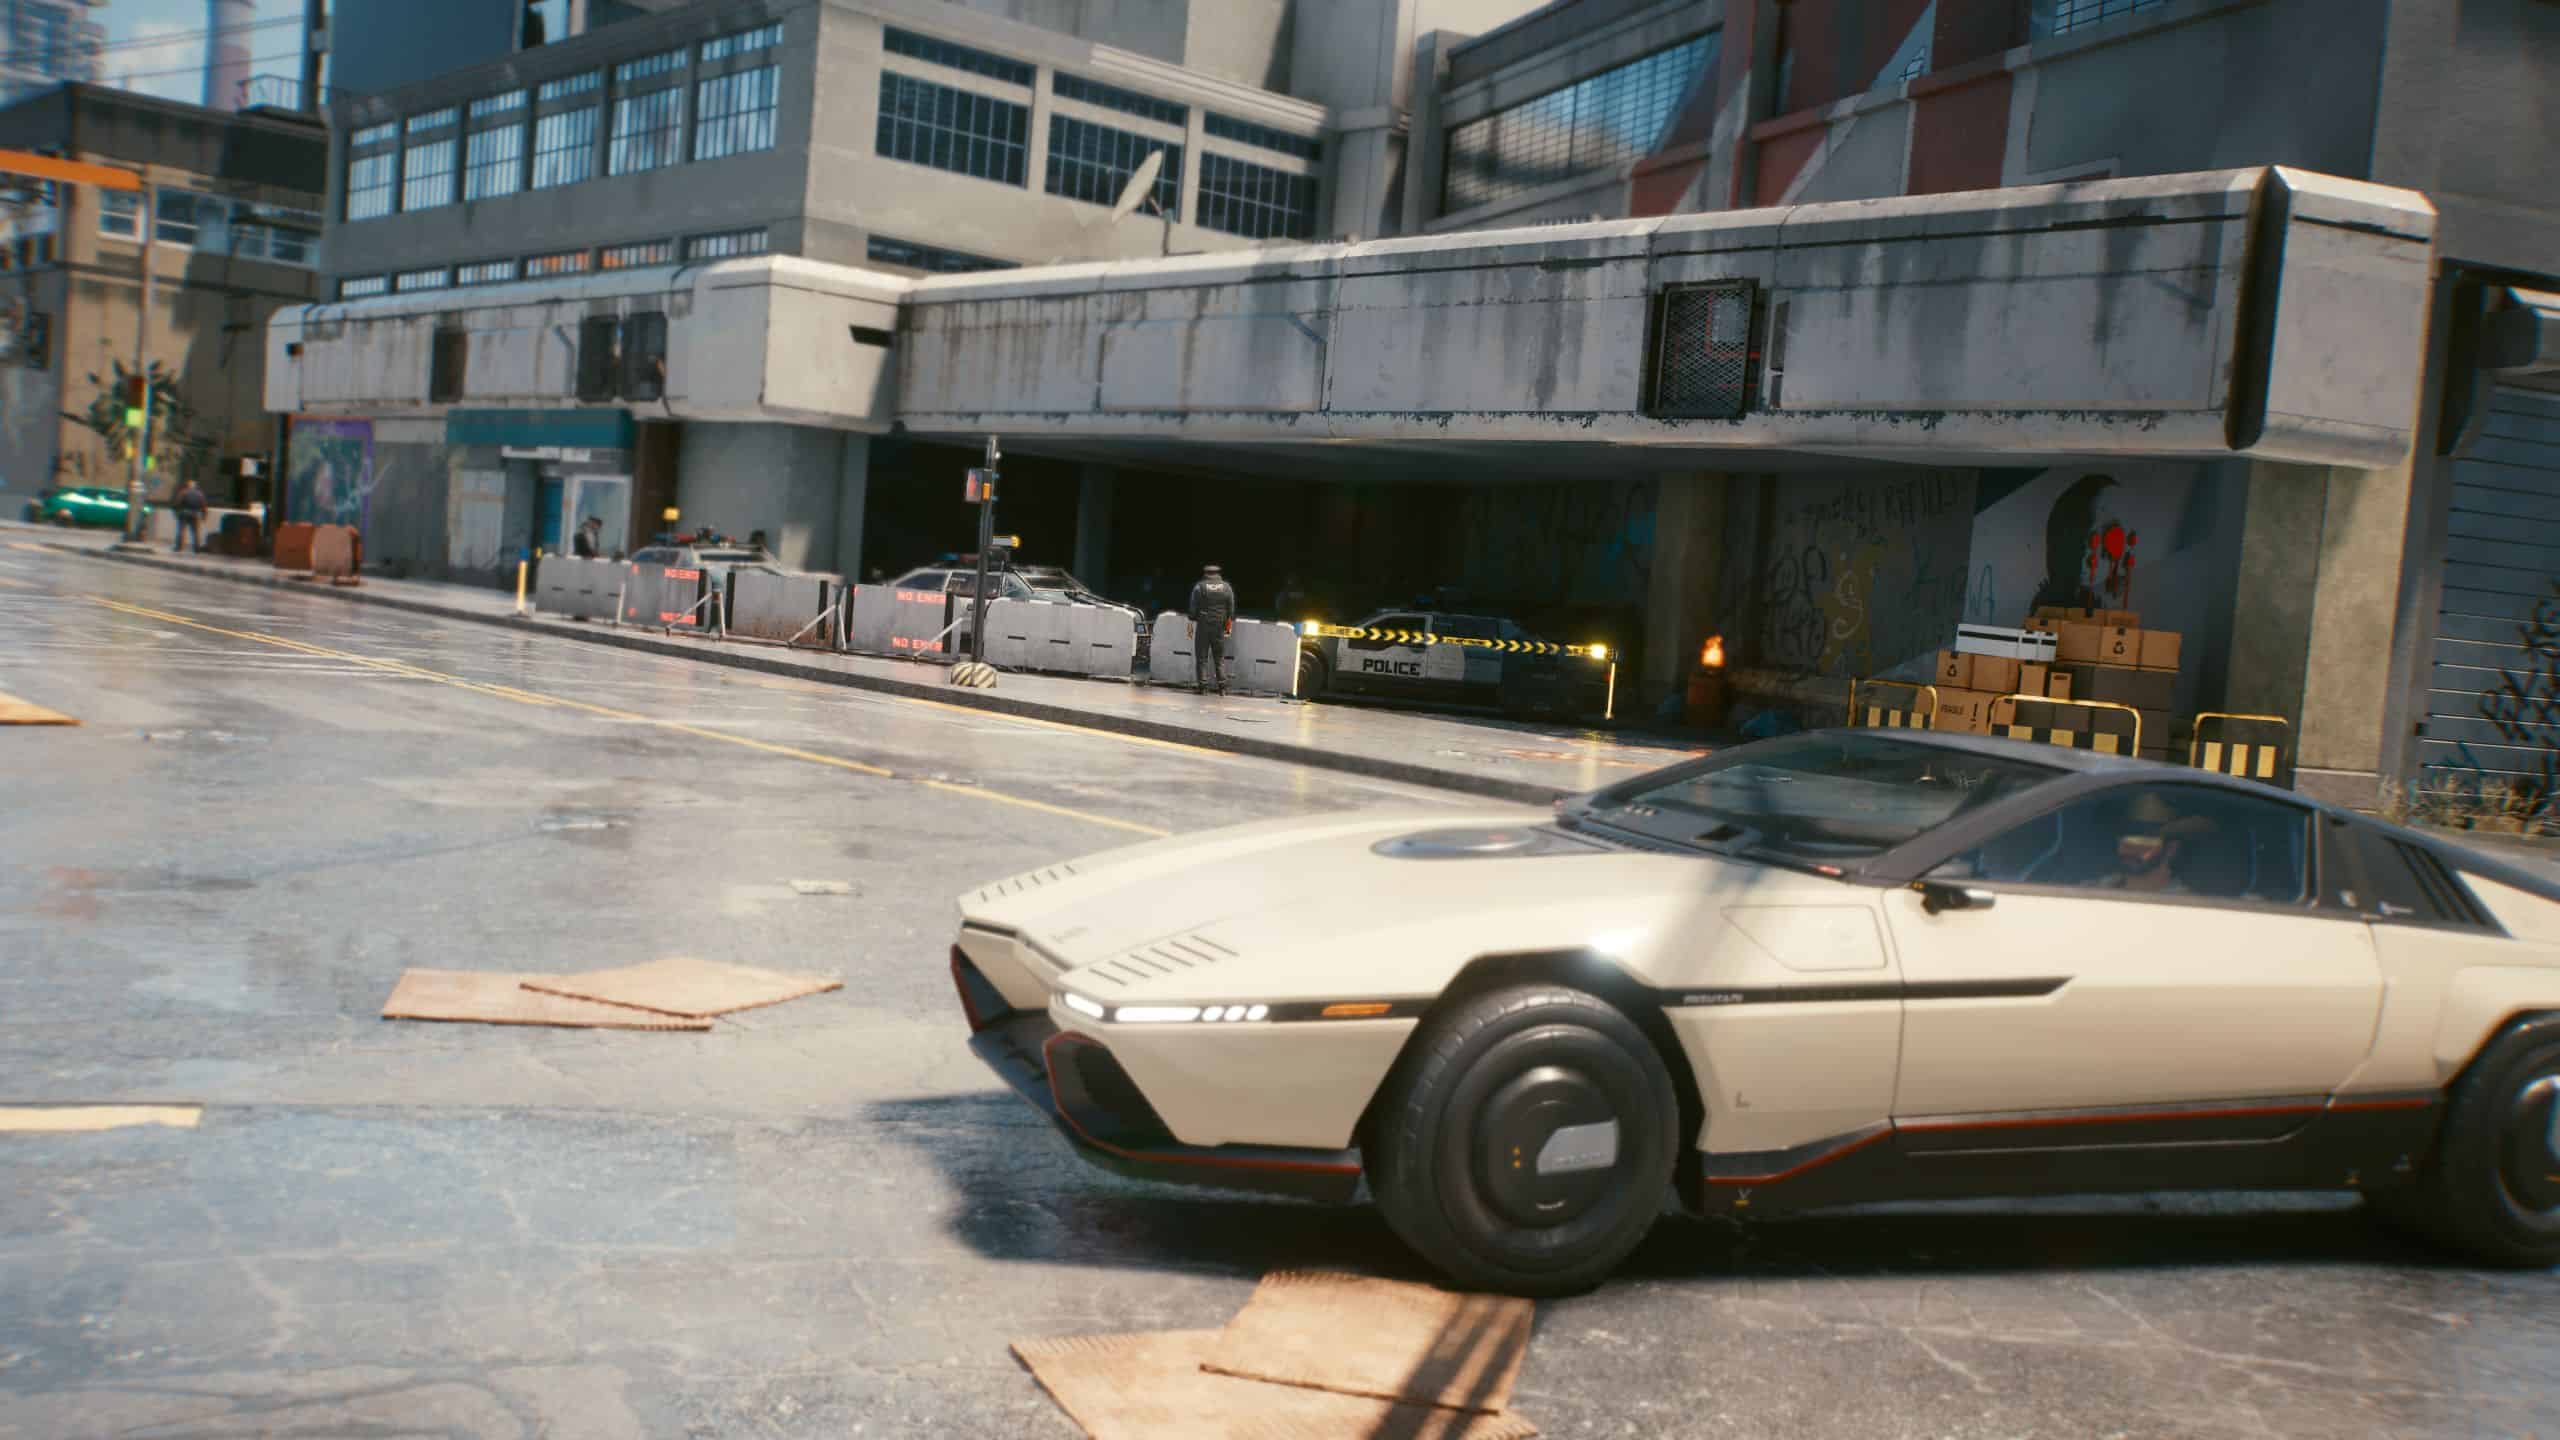
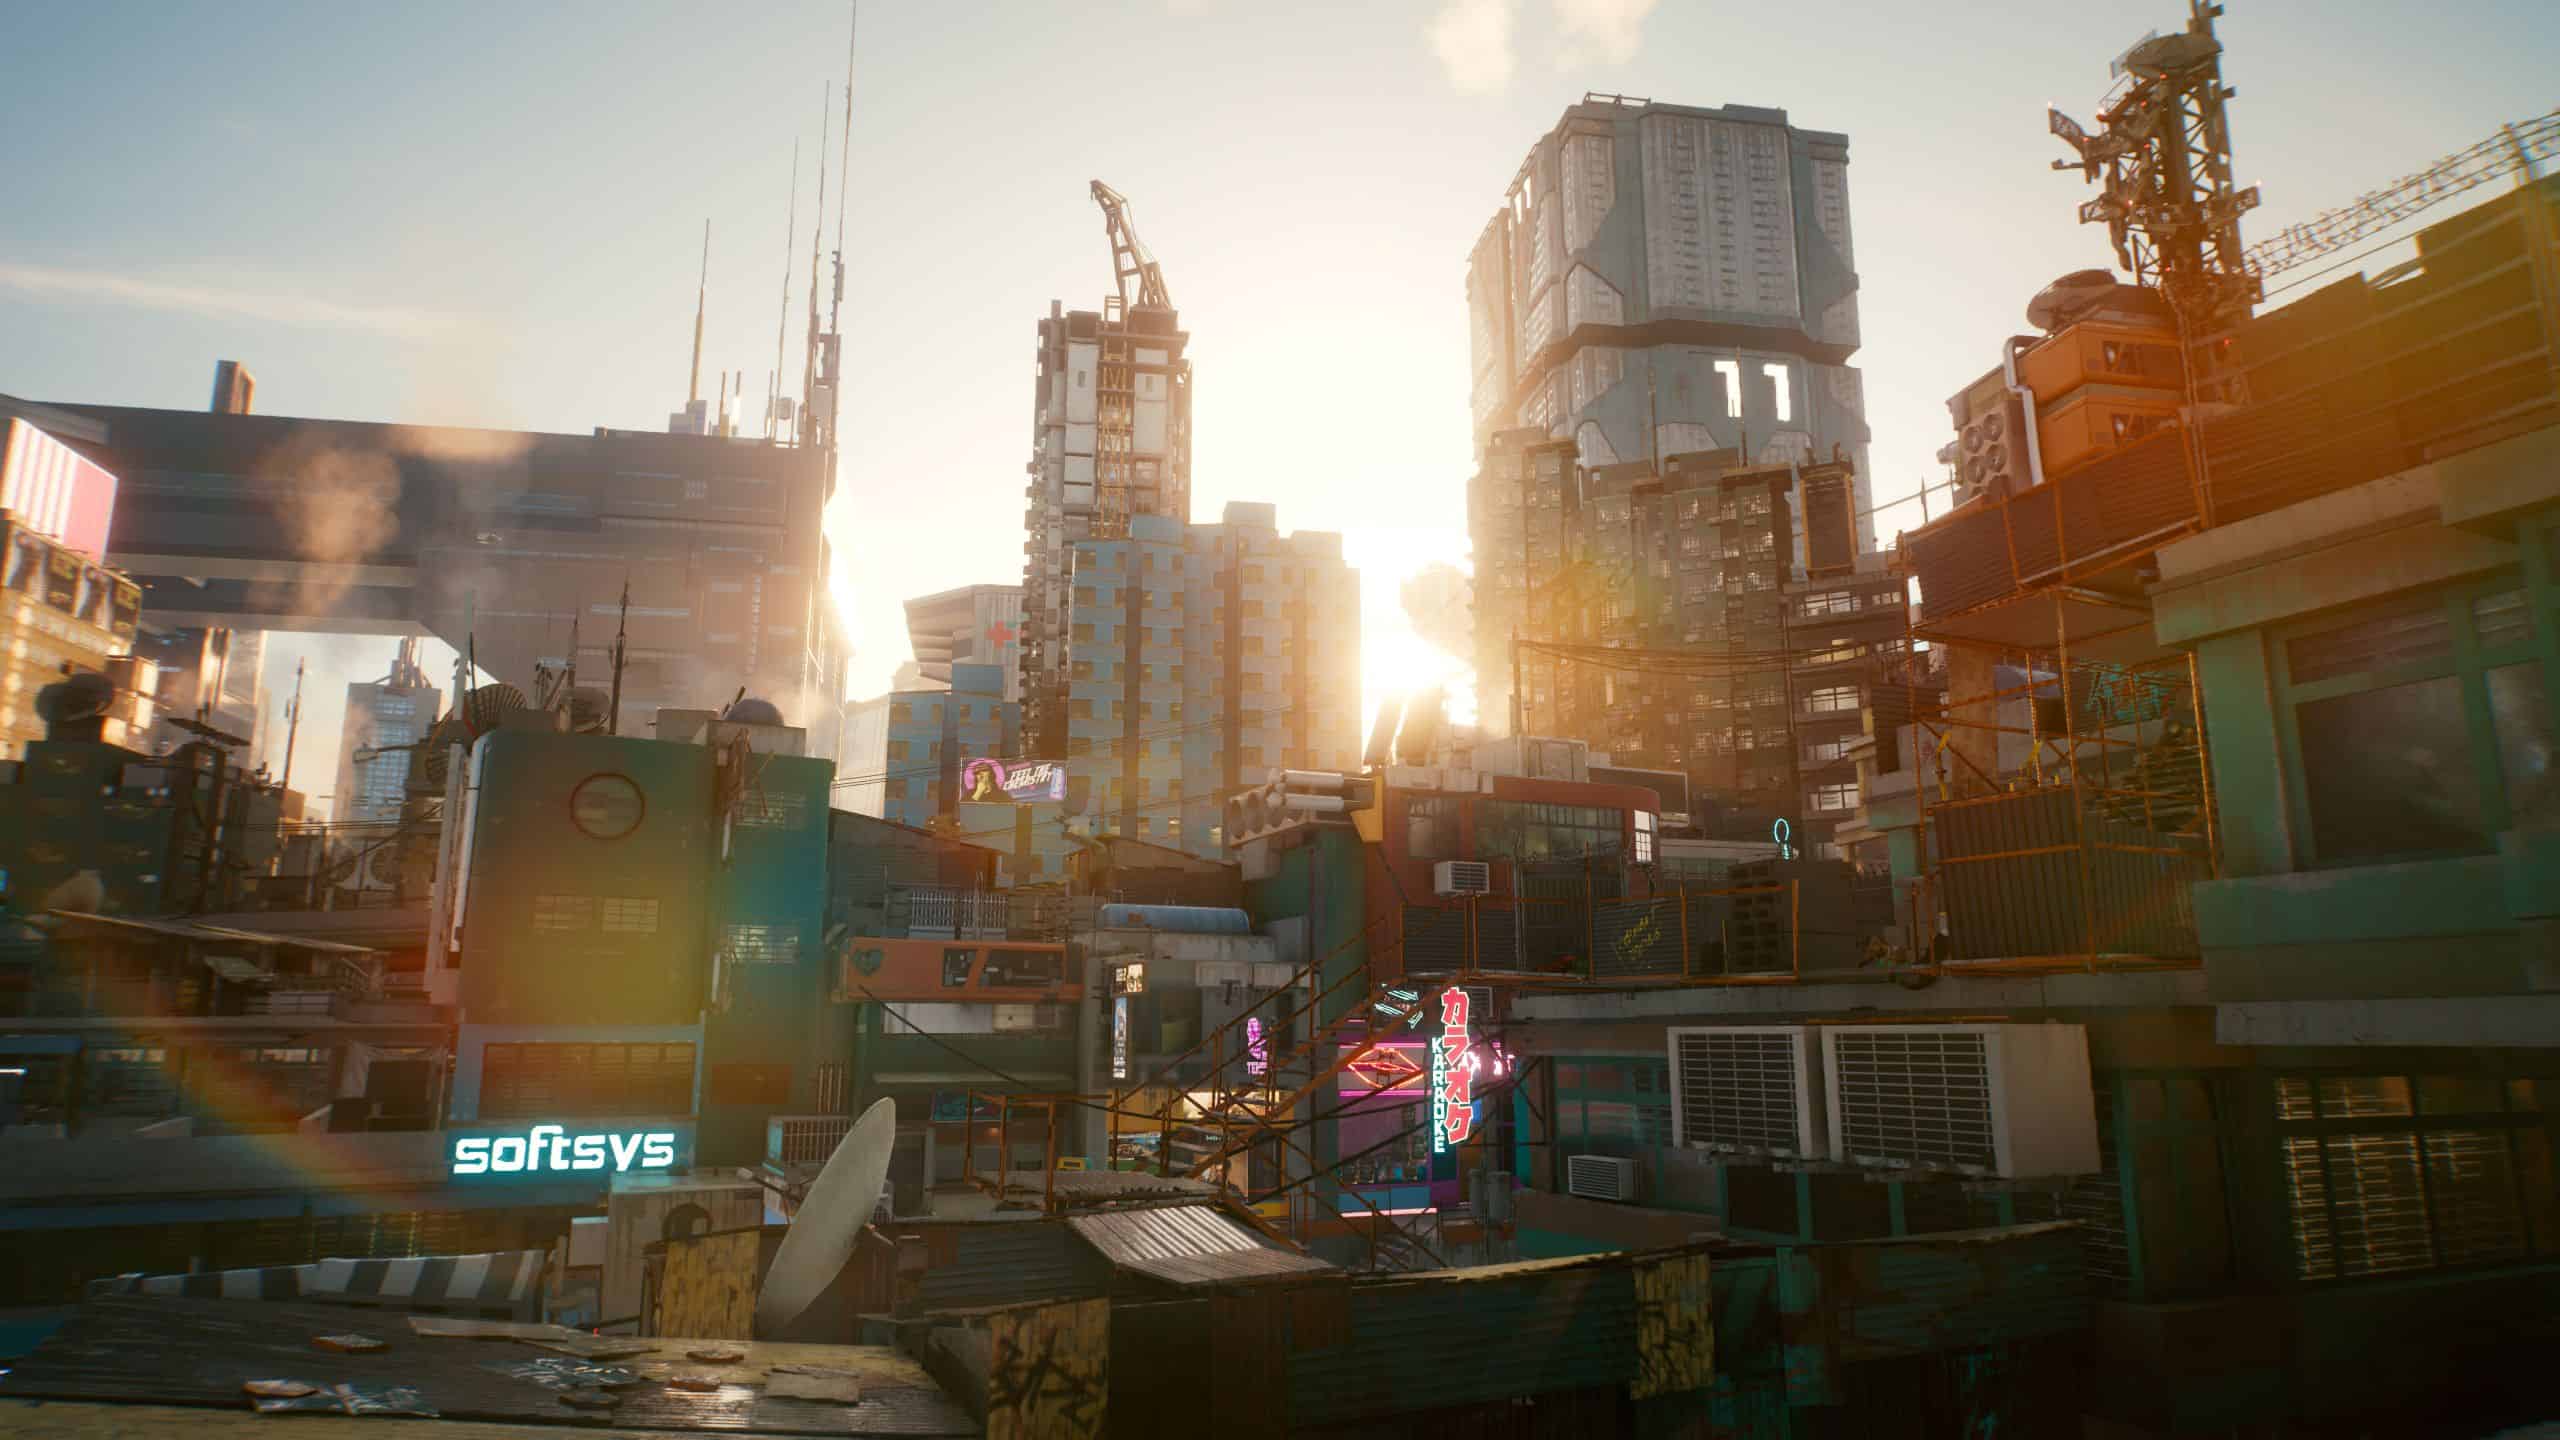
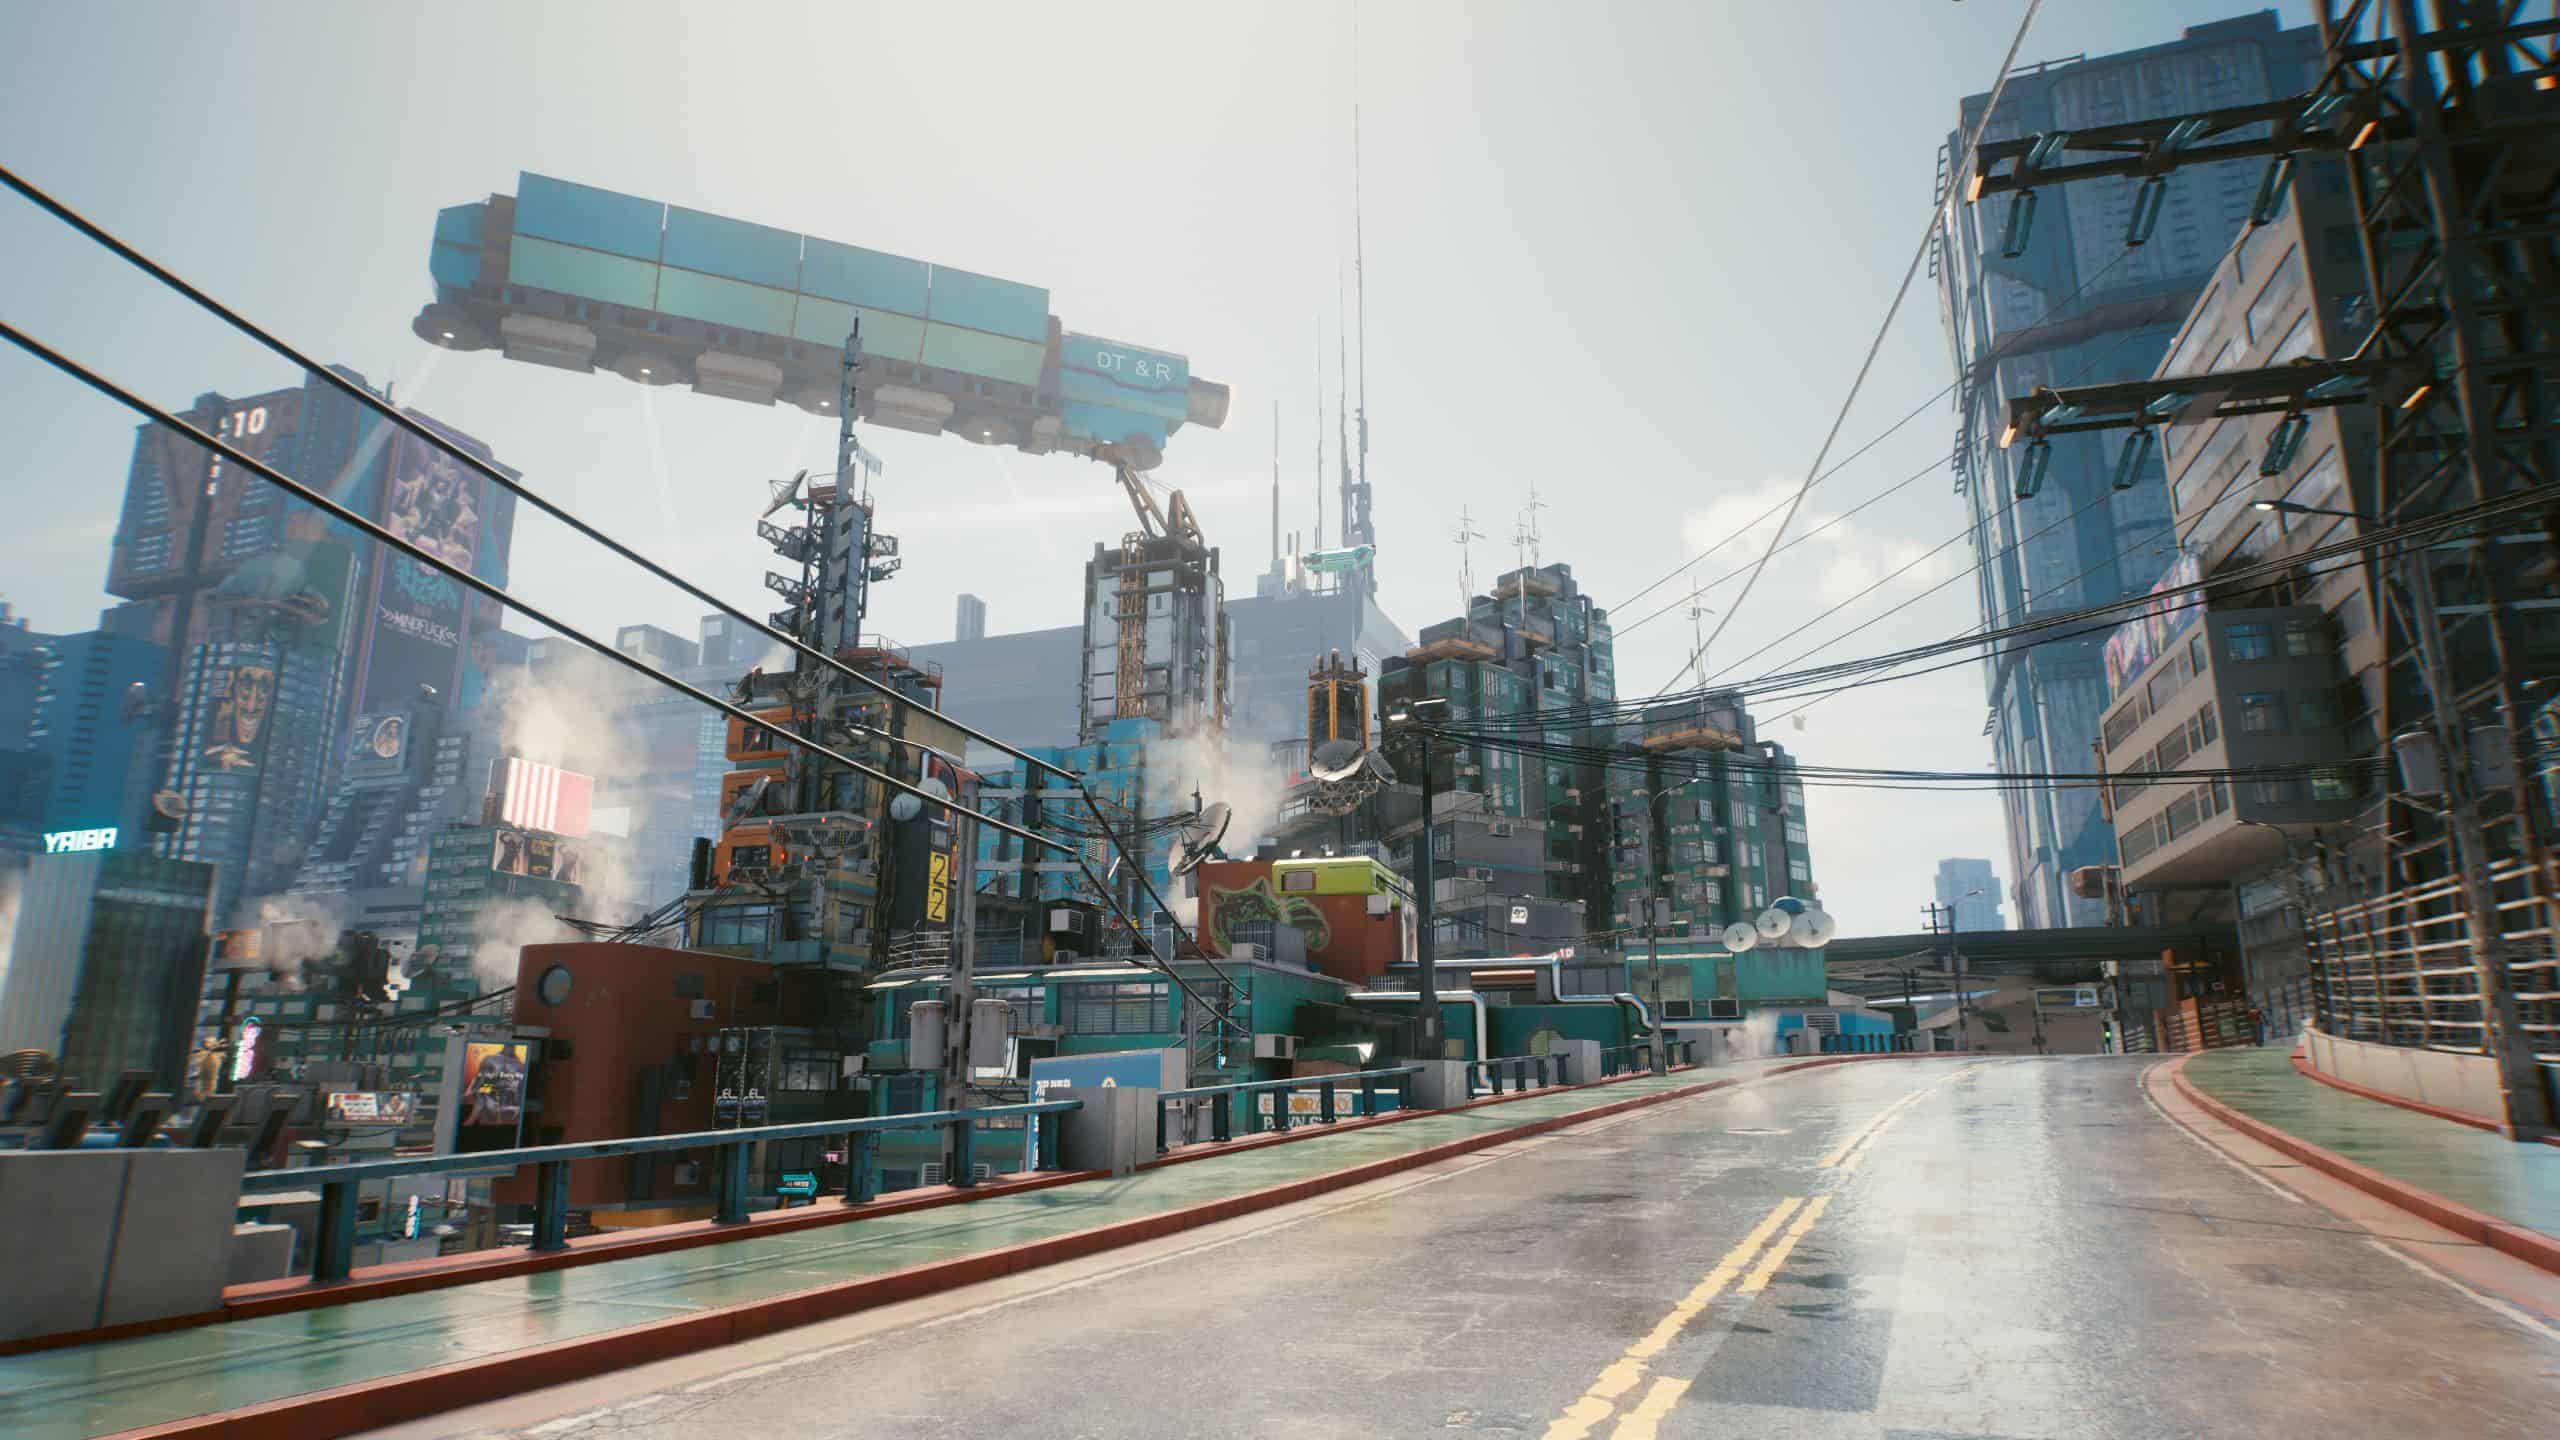
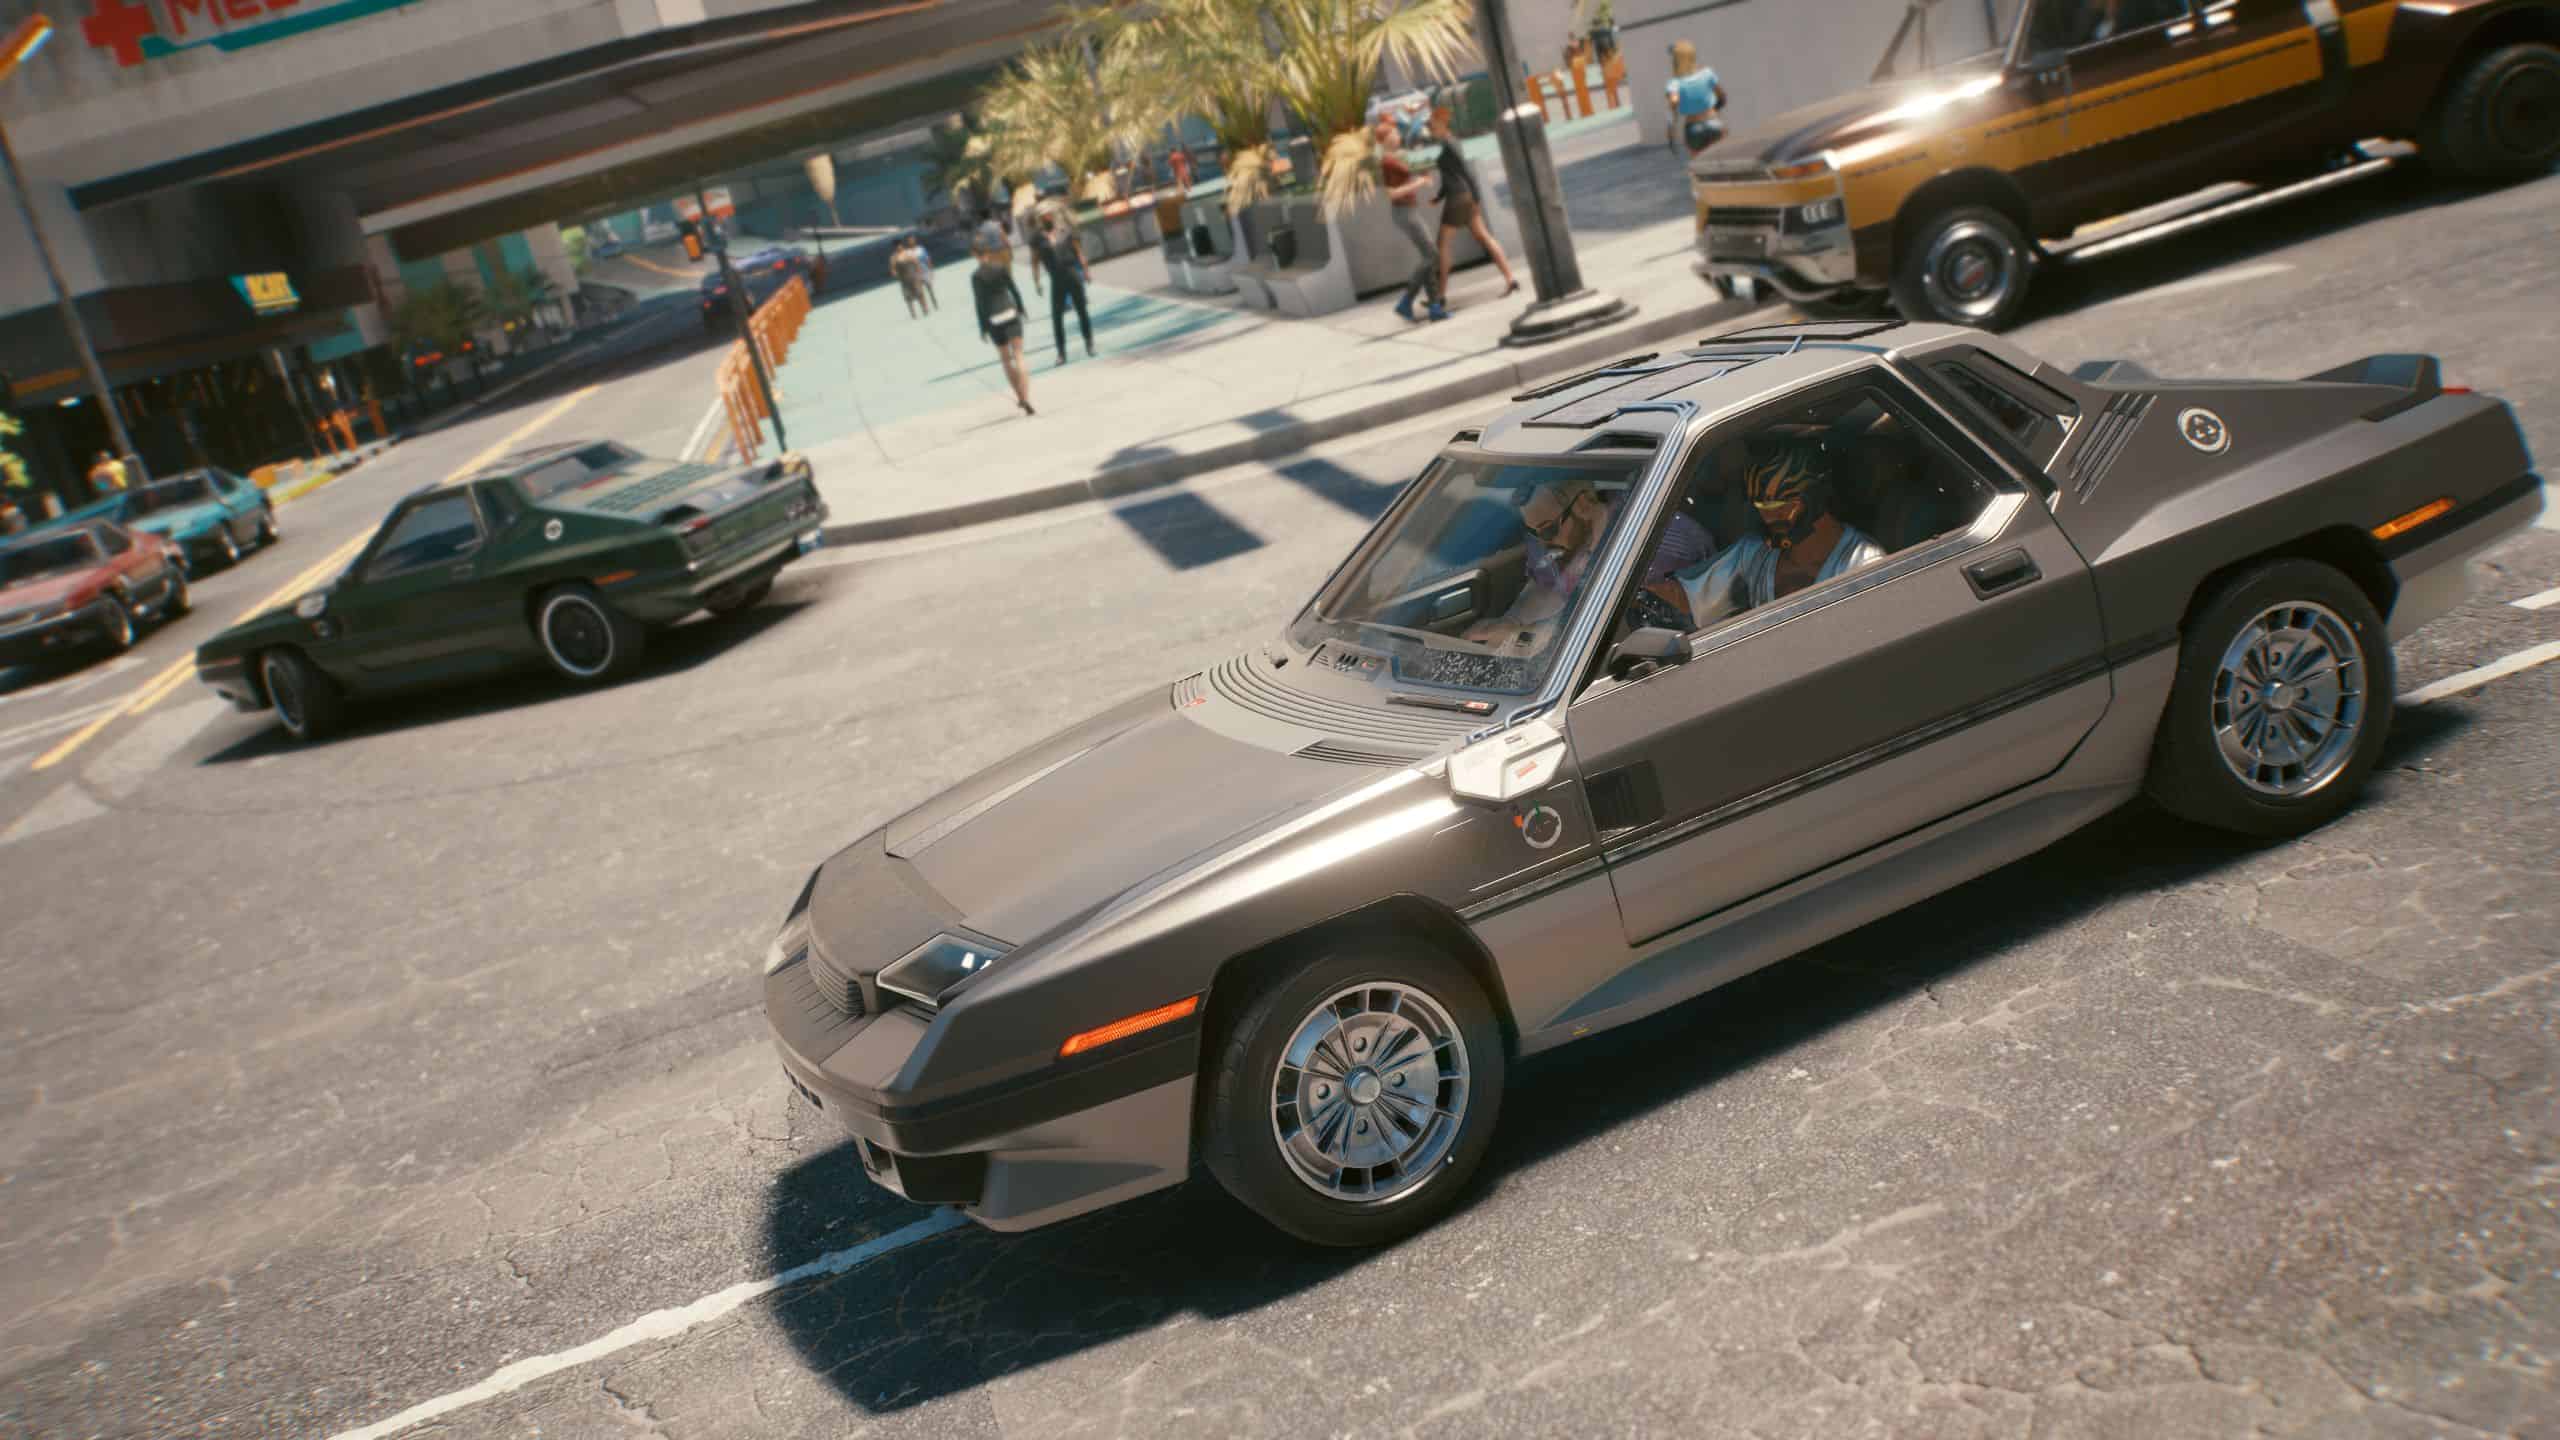
The Netrunner ReShade Collection is a steadily expanding set of ReShade presets that enhances Cyberpunk 2077’s already good visuals with, depending on which ReShade preset you use, more vivid, cinematic looks, or arthouse looks. This carefully-crafted set of ReShade presets will offer you ability to change up your visuals drastically, while giving a range of options for users to customize each preset to their liking at the click of button(s). You can go quickly turn off effects to get a more vanilla look and just keep the effects on that you want. Each preset adds tons of optional, fine-tuned cinematic effects, including film-grade depth-of-field, film grain, letterboxing (black bars), chromatic aberration, enhanced bloom. Initial results of some presets may be somewhat shocking, but you should find that each one maintains gameplay-friendly standards, meaning visibility is maintained throughout all times of day (and night), interiors and exteriors, and weather conditions.
Seven (7) ReShade presets are bundled in at launch. You’ll be able to pick from very vivid presets with varying degrees of lighting changes, bleached presets that add very cinematic and gritty style appropriate for the narrative that push highlights and shadows to the limit while maintaining visibility in all lighting conditions and never actually crushing blacks. The changes to lighting have been made with shaders that I tuned to adjust to the image’s lighting, so you’ll never be plunged into pitch-black shadows or nighttime. Even areas that appear very dark at the sides of your screen or from afar will adjust when you actually look directly at them or you walk into them to maintain visibility at all times. The vivid presets have been tuned to offer slight boost to more dramatic ones and they’ve all been white-balanced/color corrected to get rid of or cut down the insane cyan, green, and yellow filters the game often uses. Finally you’ll find two atmospheric shaders that really add a moody take to the games visuals while actually cutting back on the contrast even from vanilla. Each preset was extensively tested to give stunning and BALANCED visuals throughout, even while pushing the boundaries sometimes (on purpose for some of the presets.
The world of Cyberpunk 2077 is shocking and impactful, and now your visuals will match that. The Netrunner ReShade Collection will do what many presets fail to, that is ensure you don’t need to sacrifice visibility and gameplay-friendly performance and tuning for visuals that will blow you away at every turn.
I worked on this exclusively since launch, so I really hope you like it.
What each preset aims to do and how they’re different:
Sun Soaked – Most vivid, individual colors tuned to have very bold and bright primaries, highest contrast of the vivid presets. My second favorite preset and the one I play with the second most.
Sun Bathed – Quite vivid, though not as much as Sun Soaked, quite contrasty, with lighting that will adapt to the image space (Sun Soaked has this too), but not as contrasty as Sun Soaked.
Sun Kissed – Vivid, but not as much as Sun Soaked or Sun Bathed. Bright, with lighting more balanced toward vanilla. This preset is closest to vanilla lighting and colors but still offers a nice enhancement over the sometimes washed out look of vanilla.
Bleached – Colors are both brighter and desaturated (sometimes) than vanilla. Highlights of the image are bright, image space will adapt to what you’re looking at. Darks are rich and deep, but still tuned to not actually be crushed and maintains great visibility in day and night for both.
Bleached Extreme – Bleached preset on crack, very purposefully overexposed, and also over leveled, almost to absurdity, but actually still maintains great visibility in dark areas. Honestly some very fine details will be swallowed by highlights (in very bright areas) in a tasteful, surprising, stunning way. Still, visibility for gameplay purposes is maintained throughout. This is my favorite preset and the one I use the most.
Red Devil – Low contrast, similar to vanilla contrast but should be lighter in some respects because the image is more homogenized around around red. Reds infect the both the image’s highlights and shadows, looks best in the desert and, especially at around sunset, sunrise but is very usable throughout. The red effect is gentle enough that it won’t make it impossible to distinguish what colors originally were, but it’s a nice flip on the games original cyan filter which really leaves run for something that pushes reds in the high and low parts of the image to shine in a way most games wouldn’t.
Blue Balls – Takes the vanilla’s cyan look and decides ‘hey, that’s actually a great idea, why don’t we do more of that?’ It is the most low-contrast, with decidedly brighter shadows than vanilla and softer highlights than vanilla as well. This more arthouse style will particularly shine in moody screenshots where black and white would’ve probably worked just fine but you want something “different.”
HOTKEYS:
All of these are remappable once in game. (make sure numberpad is enabled or the controls won’t work).
-Toggle ReShade menu on-off – HOME
-Toggle all ReShade effects – must be set in the ReShade setting’s menu, I like to use END personally
-Toggle main close-range depth-of-field – / on numberpad
-Toggle slight lens distortion (warping in corners of screen) & chromatic aberration (color bleeding on objects’ edges toward the edges of the screen) – 2 on numberpad
-Toggle sharpness – 5 on numberpad
-Toggle film grain – 3 on numberpad
-Letterbox (“Teh Black Barz”) – 0 on numberpad
-Vignette (darkness around the corners, should definitely cut this off is you cut letterbox off) – * on numberpad
-Toggle soft DoF on horizon (distant landscape) – 1 on numberpad
INSTALL INSTRUCTIONS:
1. Download ReShade 4.7.0 from here: https://dl-file.com/cci79qj4hpiu/ReShade_Setup_4.7.0.exe.html (no, please don’t use the latest version of ReShade [current 4.8.2], it has many issues right now linked to crashing this game in particular for me and other games for others). Uninstall the ReShade dxgi.dll file and reshade-shaders folder first for a clean installation. Failing to do this can cause doubling of some shaders which will completely ruin the image and cost performance needlessly).
2. Run the ReShade .exe and choose your Cyberpunk2077.exe.
3. Select the DirectX 10/11/12 for the API
4. Under “select effect packages to install”, keep the two default boxes checked (“standard effects” and “sweetFX”). Click continue and uncheck all for first set of effects and hit continue. Uncheck all for the next set of effects as well then recheck “Border”. Continue until the pop up window closes and tells you ReShade was installed successfully (BUT WE ARE NOT QUITE DONE YET).
5. Now download the main file .zip file from here. Open the zip file.
6. Copy and paste the .ini files and folder into your Cyberpunk 2077 x64 folder, the folder where your game’s Cyberpunk2077.exe is. Overwrite anything it ask, if it asks, (don’t worry, you’re just overwriting ReShade files, not your game files).
7. Launch the game. Don’t press anything until the game loads up pass the splash screen, you should see the ReShade notification in the top-left of the screen in a big grey box telling it’s loading its effects. If you click anywhere on your desktop as the game is initially loading, it’ll likely open in a non-borderless window, which you don’t want. If this happens just close the game and relaunch it.
8. Open ReShade menu with “Home” and select skip the ReShade tutorial, then use the drop down menu to select the preset you wish to use.
I strongly suggest you go the ReShade’s “settings” tab and set a toggle key for the ReShade itself so you can turn it on and off easily. I use the “END” key for my toggle key, personally.
9. Open the ReShade menu and in the bottom half click “Edit global preprocessor definitions”. Make sure “ReShade_Depth_Input_Is_Reversed” is set to “1”. All the others should be set to 0. If you don’t do this, depth of field won’t work correctly AT ALL and will instead blur random parts of your screen in indescribable and terrible ways.
Click outside of the menu to make the settings save and if you had to change anything, ReShade will reload itself.
10. Profit?
CRASHING FIXES & FAQ:
1. For me, all games used to crash if I use any form of ReShade or SweetFx in fullscreen mode. So you could try to enable borderless window mode to use ReShade if your game crashes when trying to load the game while in fullscreen mode with Reshade enabled.
2. I used to need to rename my reshade file “dxgi.dll” to “d3d11.dll” to get the game to stop crashing on launch.
3. Disable the other overlays and hooks (like frame rate monitoring software) if crashing continues.
4. I’ve tested and optimized this ReShade for the game’s default in-game brightness. Tested on a mix of high and ultra settings.
5. Toggle depth-of-field – / on numberpad
6. DLSS MUST BE SET TO ON (i use Quality mode) for the depth buffer (AKA Depth of Field) to work correctly, at least that’s the case in my testing. You can use the plus key on the numberpad to enable the depth detection DisplayDepth shader. If you don’t have two windows with smooth untextured textures then something is wrong and depth of field will not work correctly. AMD users, please let me know how if your depth buffer is full of lines in the comments section so I can do additional testing. I only have Nvidia card so there may not be a fix at this time for AMD users until DLSS is implemented for AMD. Simply disabling ReShade’s depth of field shaders should fix any potential crashing problems in the mean time.
7. Inventory or map slightly blurred and it’s driving you nuts? It’s probably from the LightDof shader, which I use to blur the horizon. You can toggle it off with 1 on the numberpad. You should be able to keep main DoF on in most circumstances, just look away from something very close to the camera when going into the menus, like don’t look directly at a wall that you’re taking cover behind and the menu won’t ever get blurred from the regular, up close DoF.
UNINSTALLING:
1. Delete the “reshade-shaders” folder, “ReShade.ini” file, “d3d11.dll”, and “d3d11.log” file from your game folder. That’s it.