Mango’s Ultra Reshade
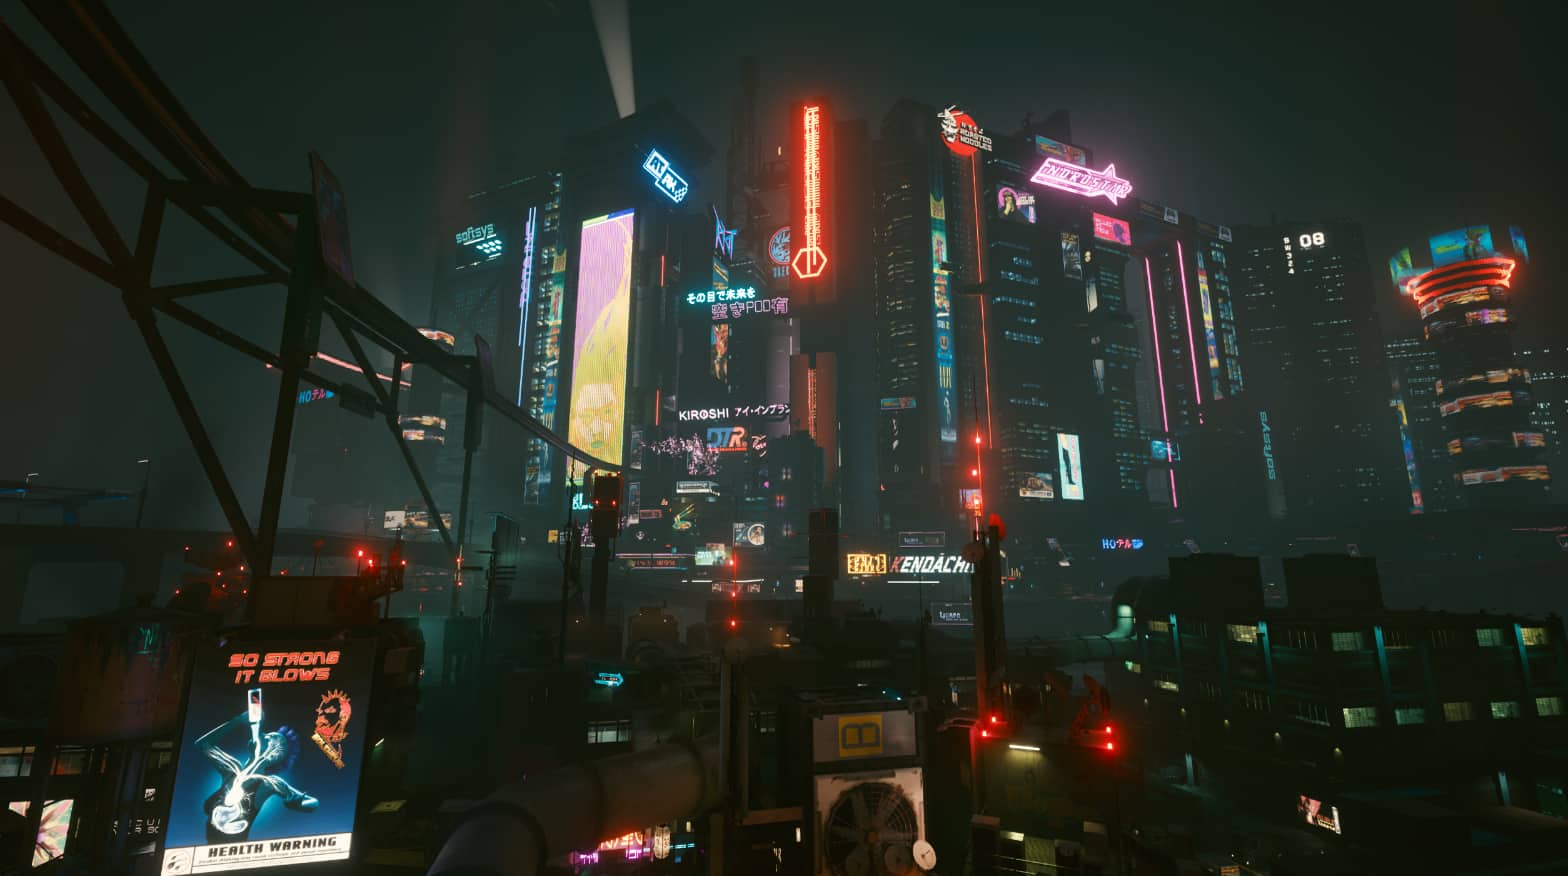
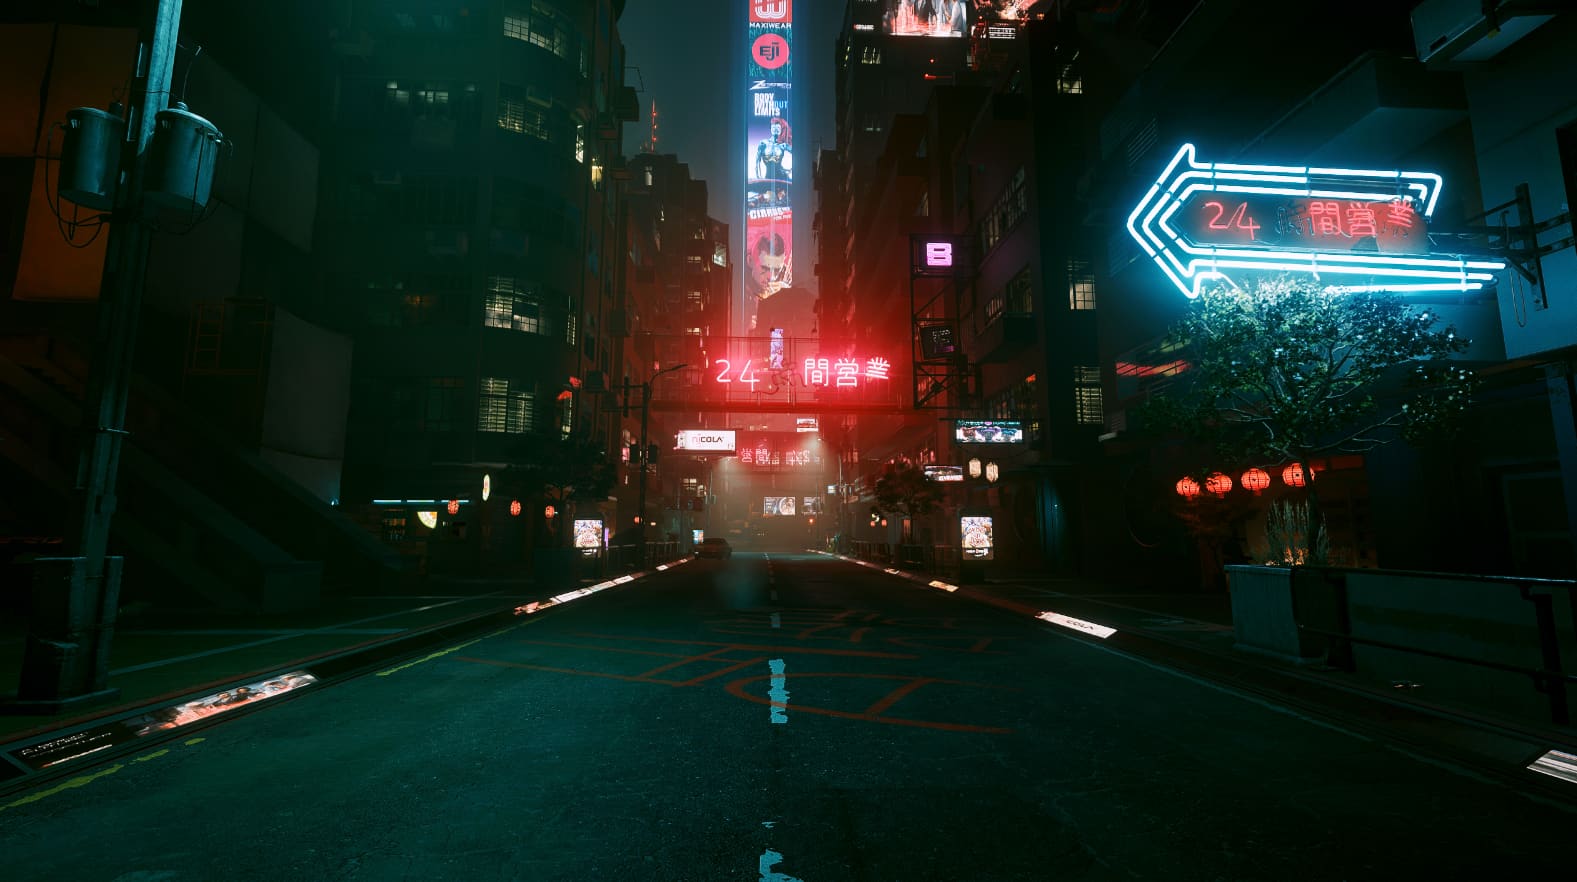
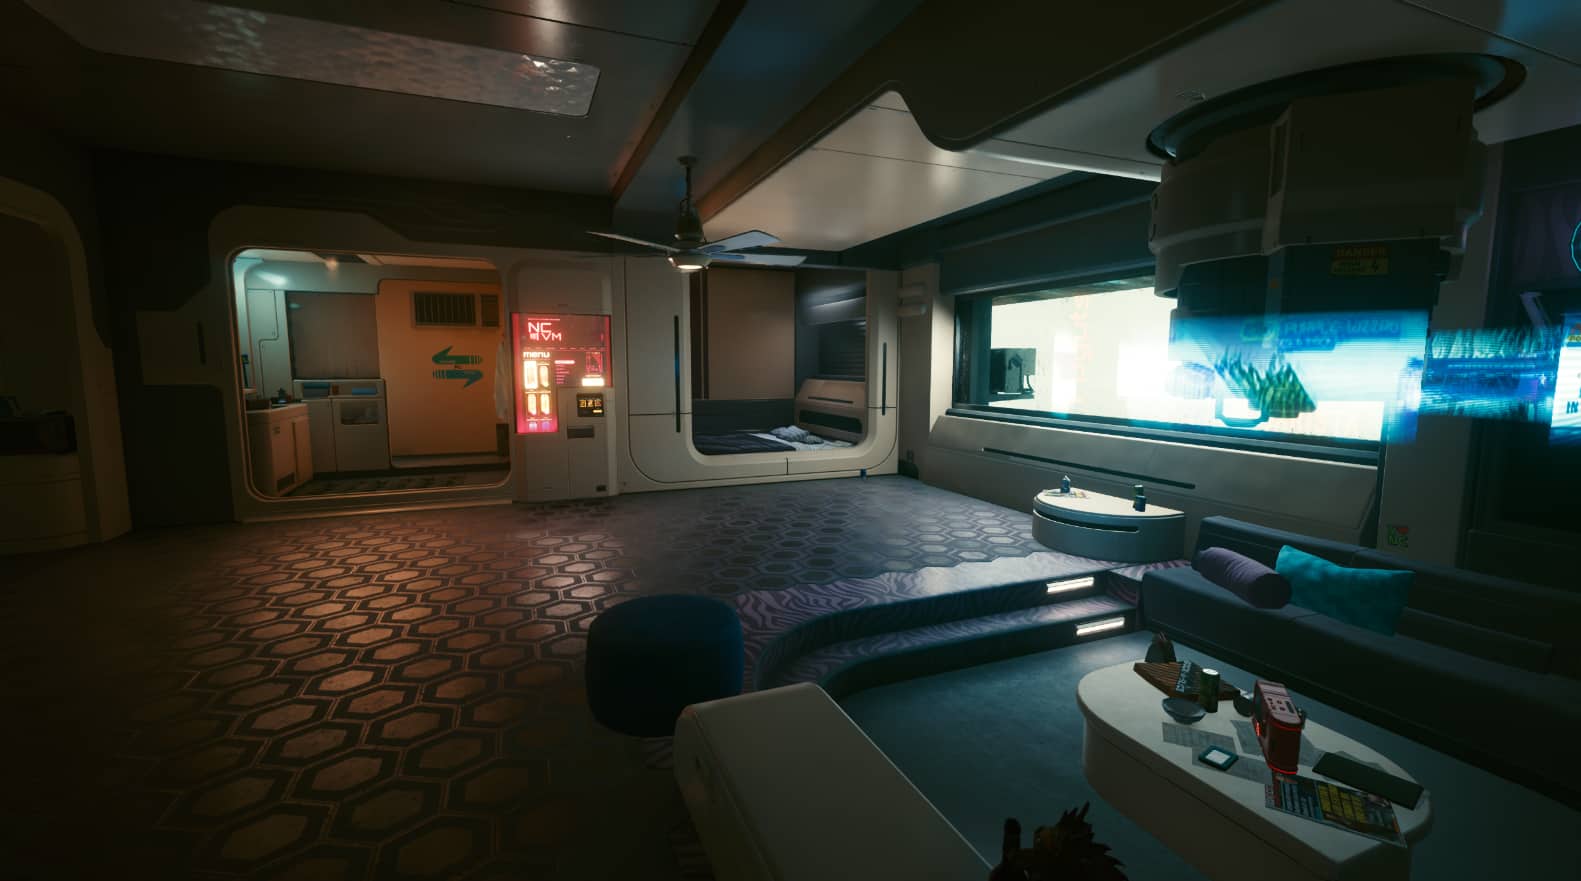
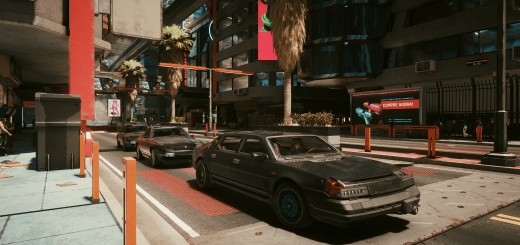
I spent a long time going through every Reshade setting and tweaking them to achieve what I believe is the best look for Cyberpunk. I didn’t aim to make the reshade look purely “cinematic” or “realistic” like some others do, but simply enhance the colors and textures to their best potential. I also wanted to fix the TAA Blurriness, Green tint, and washed out look which this Reshade definitely achieves.
I recommend putting your in-game gamma setting to 1 when using this preset.
“Green Tint” Color Corrections & Enhancements:
– Tint: The overall green tint has been removed and colors looks a lot more natural now.
– Levels: Shadows and dark areas are much more realistically darker now without ruining lighting and daytime. This also removes the “washed out” look from the game. If it is too dark for your liking you can simply lower your in-game gamma setting a few notches.
– DPX: Bright areas such as sky and lighting are slightly brighter and higher in contrast.
– Vibrance: Overall color is slightly more saturated without being overwhelming. Meant to compliment DPX.
Lighting Enhancements:
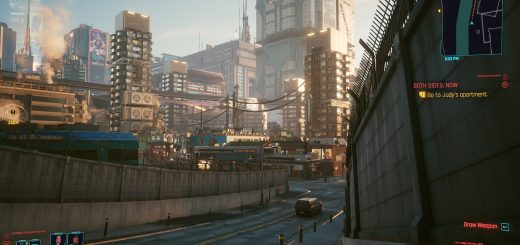
– Bloom: All illuminated signs and lighting have slightly more colored glow and better contrast, giving a better atmosphere to the world at night. I personally think I found a good balance that doesn’t make the overall image look washed out or overwhelming which is usually difficult to achieve with bloom. This specific method of bloom takes about 1-2 FPS away, and is not included in the “Lite” version of my Reshade.
– RadiantGI (Only in “Super” version): Adds additional depth-based global illumination and bounce lighting.
– Ambient Light (Only in “Super” version): Adds additional subtle soft lighting from sky and light sources.
TAA Blurriness Fix & Texture Sharpening:
– Clarity: This is being used to further remove the “washed out” look and sharpen most textures in the game. However, Clarity can take about 1-2 FPS away since it also consists of minor tweaks to Ambient Occlusion. Since this isn’t as important as the other two sharpening methods below, Clarity isn’t included in the “Lite” version of my Reshade.
– Filmic Anamorphic Sharpen: This is being used as the main method to alleviate TAA Blurriness in the whole game. One downside to this method is that menu text looks slightly desaturated, which shouldn’t be too bothersome. While Filmic Anamorphic Sharpen can sometimes be overwhelming, I found a good balance that is still strong enough to sharpen near and far textures.
– Quint Sharp: This is being used on a smaller scale to enhance small texture details such as road surfaces, cracks, etc.
There a 3 Versions of this Reshade included:
– Mango’s Ultra Reshade (Default): 3-5 FPS Drop, with no RadiantGI & Ambient Light <– Recommended
– Mango’s Lite Reshade: 1-3 FPS Drop, removes Clarity and all lighting enhancements, still retains everything else
– Mango’s Super Reshade: 10-15 FPS Drop, recommended for screenshots or slow exploration
Installation:
– After installing Reshade and downloading my preset, you can choose one of my 3 reshade presets that you want. Then simply drag and drop the “bin” folder into your game folder. Accept the replace prompt if it pops up.
– After installing your Reshade preset of choice to your Cyberpunk folder, open the game, press home on your keyboard to open Reshade, click on the blue bar at the top where it says “DefaultPreset”, then click on “Mango’s Ultra Reshade” (or whichever one you chose), then click select. And you’re done!


Hey Mango, this looks fucking nice. I love it !